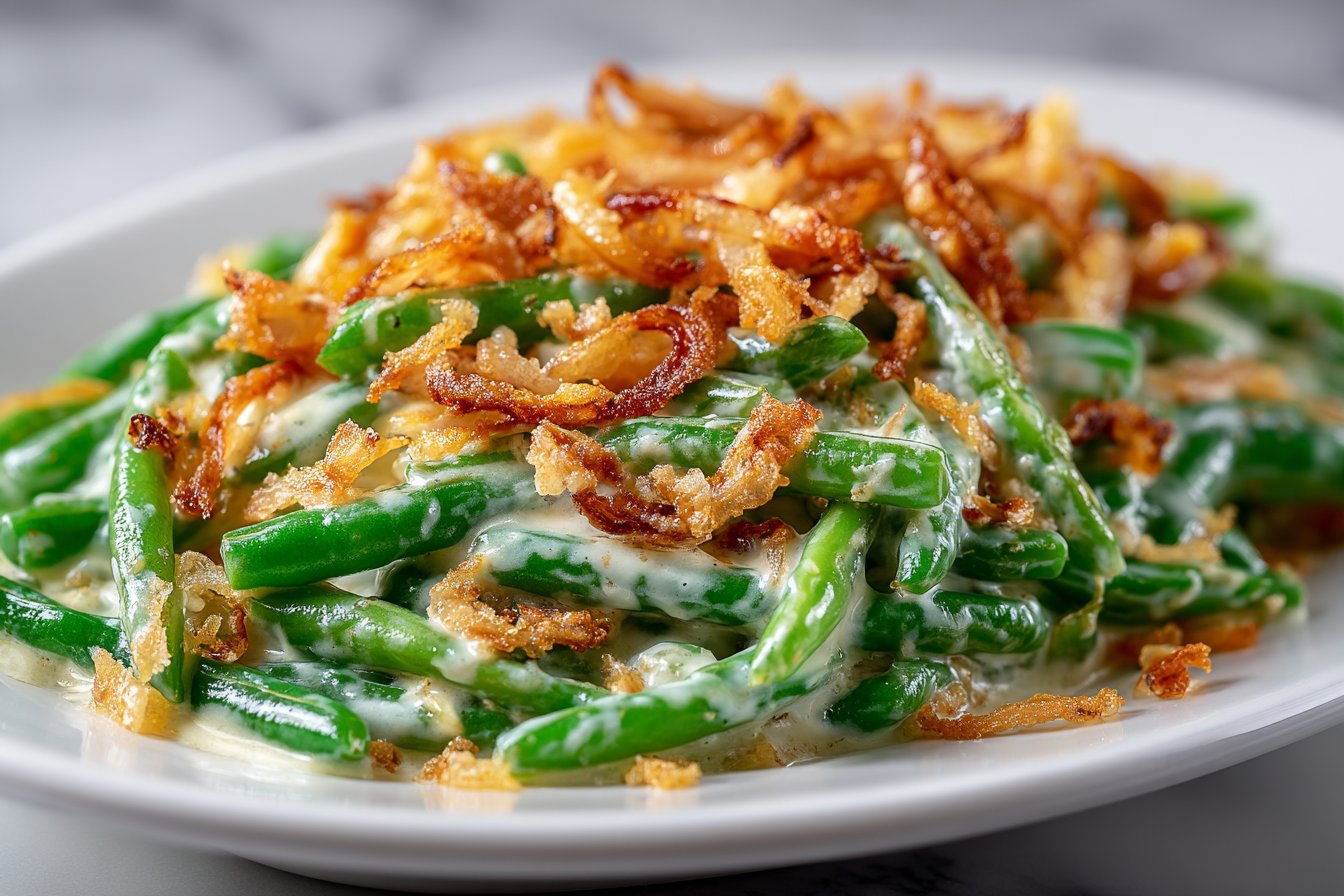
Green Beans with Creamy Sauce and Fried Onions

I still remember the first time I made this Green Beans with Creamy Sauce and Fried Onions — it was a weeknight side that stole the spotlight. Bright, crisp-tender green beans coated in a silky, garlicky cream sauce, finished with a crunchy shower of fried onions: it’s familiar comfort with just enough finesse to serve at holiday dinners or casual family meals.
Why you’ll love this dish
This recipe hits the sweet spot between comfort and speed. It’s faster than a traditional gratin, uses pantry-friendly staples (butter, flour, cream or milk), and delivers a classic contrast of textures: tender veggies and crispy topping. Make it when you want a vegetable side that feels indulgent without much fuss — weeknights, potlucks, or Thanksgiving all work.
“A family favorite — the cream sauce makes the beans feel decadent, and those fried onions are pure magic on top.” — a quick kitchen review
Beyond flavor, this dish is flexible. Swap cream for milk to lighten it, or add herbs and Parmesan for more depth. If you like the idea of a creamy vegetable but want a more substantial main, pair it with a protein-forward soup like this white lasagna soup for a comforting meal.
How this recipe comes together
Before you grab ingredients, here’s what to expect in three simple stages:
- Blanch the green beans so they stay bright and tender-crisp.
- Make a quick roux-based cream sauce on the stovetop for a smooth coating.
- Combine, top with crispy fried onions, and bake briefly to meld flavors and brown the topping.
This sequence keeps textures right: vibrant beans, velvety sauce, and crunchy topping.
Key ingredients
- Fresh green beans — trimmed (choose uniform sizes for even cooking)
- Heavy cream or whole milk — cream gives richness; milk lightens calories (use 2% or whole)
- Unsalted butter — for the roux and flavor
- All-purpose flour — thickens the sauce
- Garlic powder and onion powder — give even savory notes without raw onion texture
- Salt and freshly cracked black pepper — to taste
- Crispy fried onions — store-bought French-fried onions or homemade for extra crunch
Notes/substitutions inline:
- For a lighter sauce, use a 50:50 mix of milk and a splash of cream, or use evaporated milk for body without extra creaminess.
- Make it gluten-free by substituting a 1:1 gluten-free flour blend for the AP flour.

Step-by-step instructions
- Preheat the oven to 350°F (175°C). Grease a medium baking dish.
- Trim the bean ends and bring a large pot of salted water to a boil. Add green beans and blanch 4–5 minutes until bright green and tender-crisp. Drain and shock briefly in ice water if you want to stop cooking early; otherwise drain well.
- In a saucepan over medium heat, melt the butter. Whisk in the flour and cook 1–2 minutes to make a blonde roux — this removes the raw flour taste.
- Gradually whisk in the cream (or milk), starting slow so the sauce stays lump-free. Bring to a gentle simmer until it thickens to coat the back of a spoon. Season with garlic powder, onion powder, salt, and pepper. Taste and adjust seasoning.
- Fold the blanched green beans into the creamy sauce so they’re evenly coated. Transfer to the prepared baking dish.
- Scatter crispy fried onions evenly over the top. Bake 18–22 minutes until the casserole is heated through and the topping is golden. Let rest a few minutes before serving.
How to plate and pair
Serve this dish warm in a shallow bowl or straight from the baking dish for a family-style presentation. It pairs beautifully with:
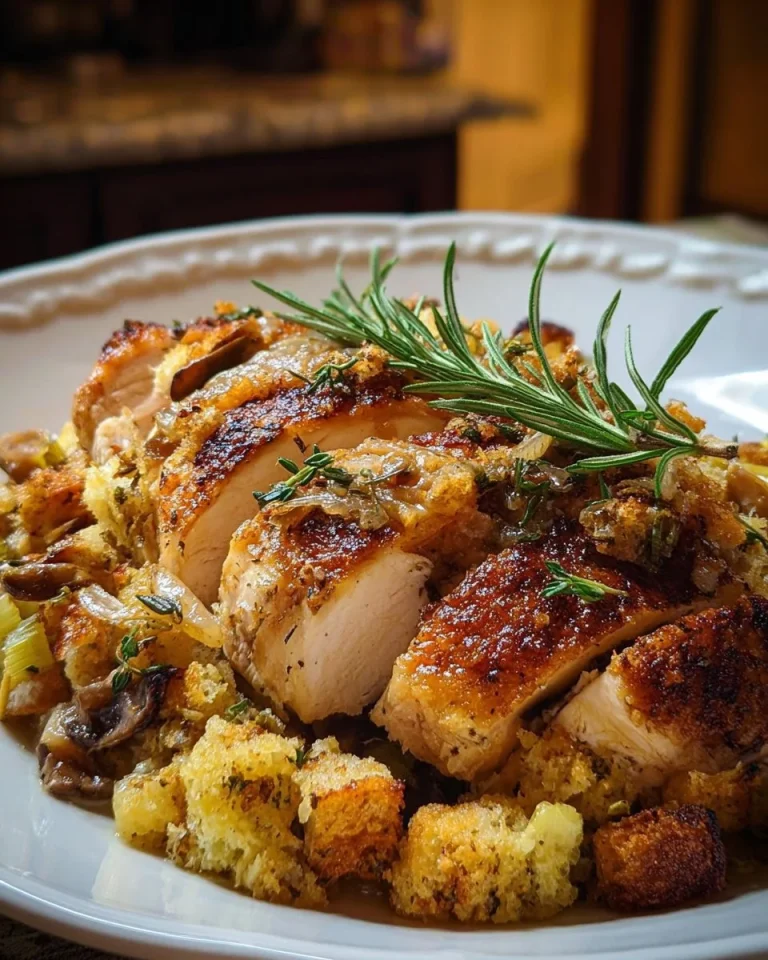
- Roasted or grilled proteins like chicken, pork, or beef.
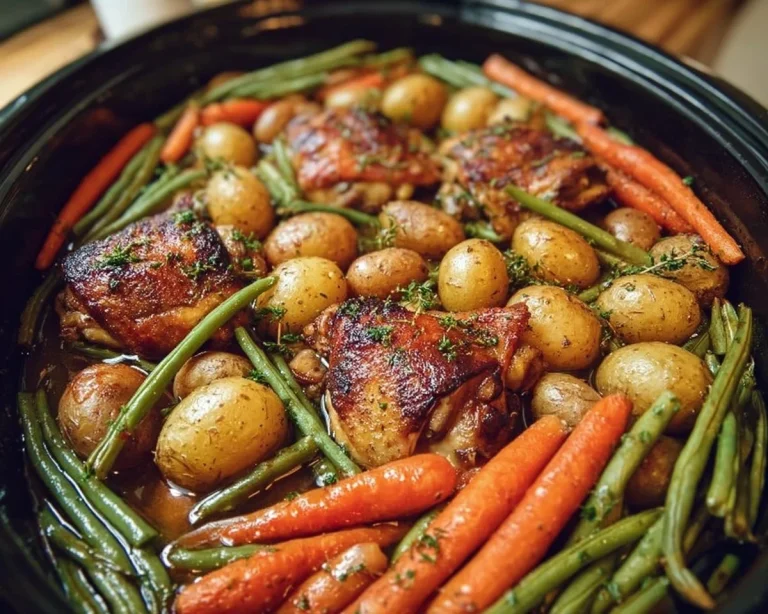
- A richer main like creamy chicken stew for a cozy, soulful plate.
- Light sides such as lemon-roasted potatoes or a crisp salad to balance the creaminess.
For holidays, garnish with chopped fresh parsley or a sprinkle of toasted almond slivers for a festive crunch.
Storage and reheating tips
- Refrigerate leftovers in an airtight container for up to 3–4 days.
- Reheat in a 350°F oven for 10–15 minutes covered until heated through to preserve texture; remove the cover for the last few minutes to re-crisp the topping.
- To freeze: assemble but do not top with fried onions. Freeze in a freezer-safe dish for up to 2 months. Thaw in the fridge overnight, then add fresh fried onions and bake as directed.
- Food safety: cool the casserole to room temperature no longer than two hours before refrigerating.
Pro chef tips
- Don’t skip cooking the roux — it’s the backbone of a lump-free, silky sauce. Cook it until slightly nutty (1–2 minutes) before adding liquid.
- If your sauce is too thick, whisk in a tablespoon or two of milk until it loosens. If too thin, simmer gently to reduce.
- For ultimate crispiness, add the fried onions in two stages — half before baking and half after — so some topping stays extra crunchy.
- Use fresh green beans when possible; frozen ones work in a pinch but may release more water. When using frozen, thaw and pat dry before combining with sauce.
- For an extra savory kick, stir in 1/3 cup grated Parmesan into the sauce.
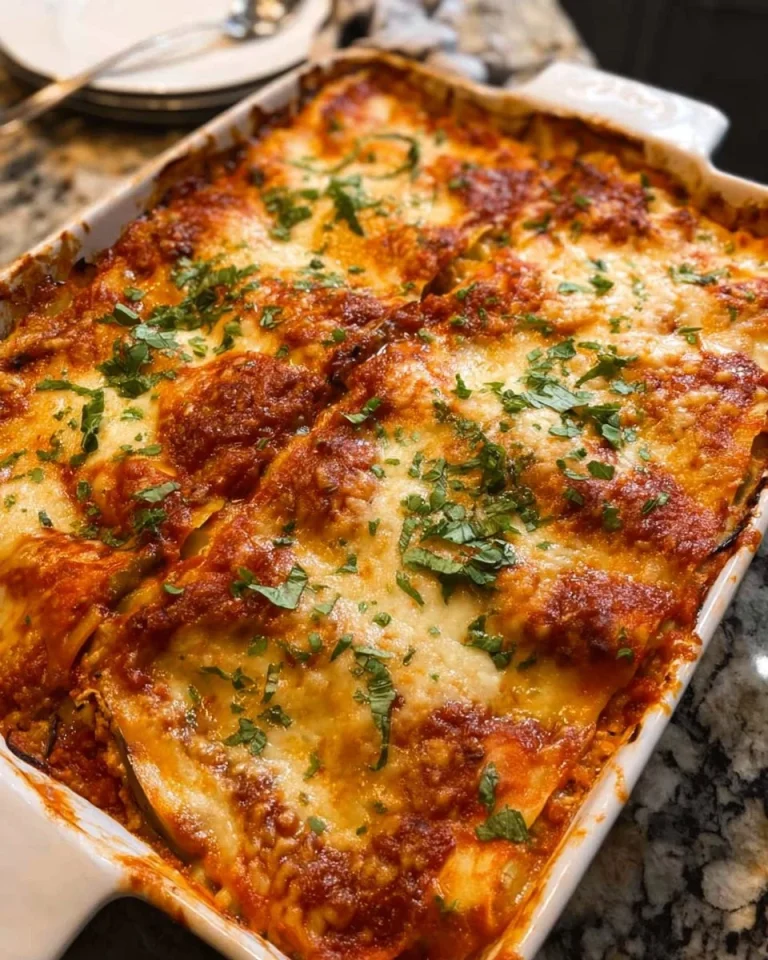
You can also experiment by folding in sautéed mushrooms or small pearl onions — think of this recipe as a base to customize (see an inspired savory pairing like this creamy spinach and mushroom lasagna).
Creative twists
- Cheesy Green Bean Casserole: stir 1 cup shredded Gruyère or cheddar into the sauce.
- Lighter Version: use whole milk blended with a tablespoon of cornstarch as a thickener instead of flour and butter.
- Herb-forward: add fresh thyme and a squeeze of lemon for brightness.
- Bacon and Shallot: cook diced bacon and shallots, fold into the sauce for a smoky depth.
- Vegan swap: use vegan butter, unsweetened plant milk thickened with a tablespoon of cornstarch, and vegan fried onions.
Common questions
Q: Can I use milk instead of cream?
A: Yes. Whole milk or 2% works if you simmer the sauce a little longer to thicken. For lighter results, mix milk with a small amount of cornstarch or reduce it to concentrate flavor.
Q: How do I keep the fried onions from getting soggy?
A: Add half the fried onions before baking and reserve the rest to sprinkle on immediately before serving. Also, avoid covering the dish while hot; steam will soften the topping.
Q: Can I assemble ahead for a holiday?
A: Assemble up to a day in advance, keep chilled, and add the fried onions just before baking. If frozen, bake from thawed state and add fresh topping.
Q: Is this recipe vegetarian?
A: Yes, as written it’s vegetarian. To keep it vegan, substitute plant butter, plant milk plus cornstarch, and vegan fried onions.
Q: Can I make this gluten-free?
A: Yes — use a gluten-free flour blend for the roux and confirm that the fried onions are gluten-free.
Conclusion
If you love the classic texture contrast of tender beans with a crunchy topping, this Green Beans with Creamy Sauce and Fried Onions is an easy winner for both weeknights and holidays. For a classic take on the same flavor profile, check out this recipe for Green Bean Casserole with French Fried Onions. If you want other creamy vegetable takes to pair alongside, this Creamy Green Beans variation offers more ideas and techniques.

Green Beans with Creamy Sauce and Fried Onions
Ingredients
Method
- Preheat the oven to 350°F (175°C). Grease a medium baking dish.
- Trim the bean ends and bring a large pot of salted water to a boil. Add green beans and blanch 4–5 minutes until bright green and tender-crisp. Drain and shock briefly in ice water if you want to stop cooking early; otherwise drain well.
- In a saucepan over medium heat, melt the butter. Whisk in the flour and cook 1–2 minutes to make a blonde roux — this removes the raw flour taste.
- Gradually whisk in the cream, starting slow to keep the sauce lump-free. Bring to a gentle simmer until it thickens to coat the back of a spoon. Season with garlic powder, onion powder, salt, and pepper. Taste and adjust seasoning.
- Fold the blanched green beans into the creamy sauce so they're evenly coated. Transfer to the prepared baking dish.
- Scatter crispy fried onions evenly over the top. Bake for 18–22 minutes until the casserole is heated through and the topping is golden. Let rest a few minutes before serving.