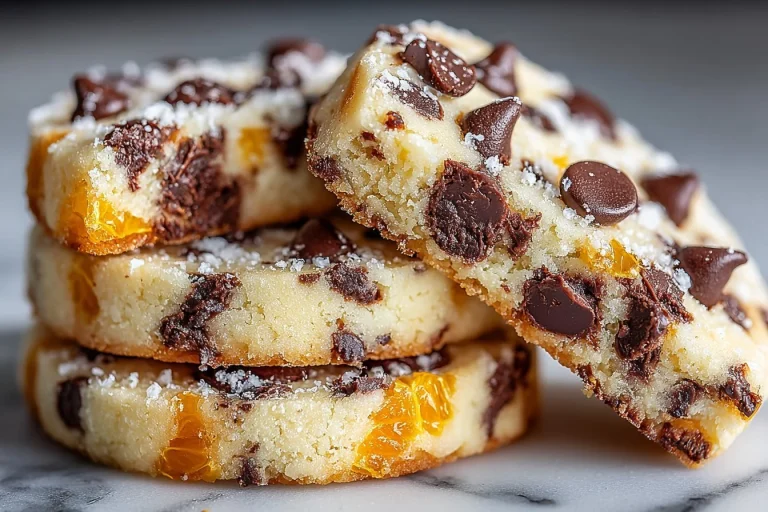
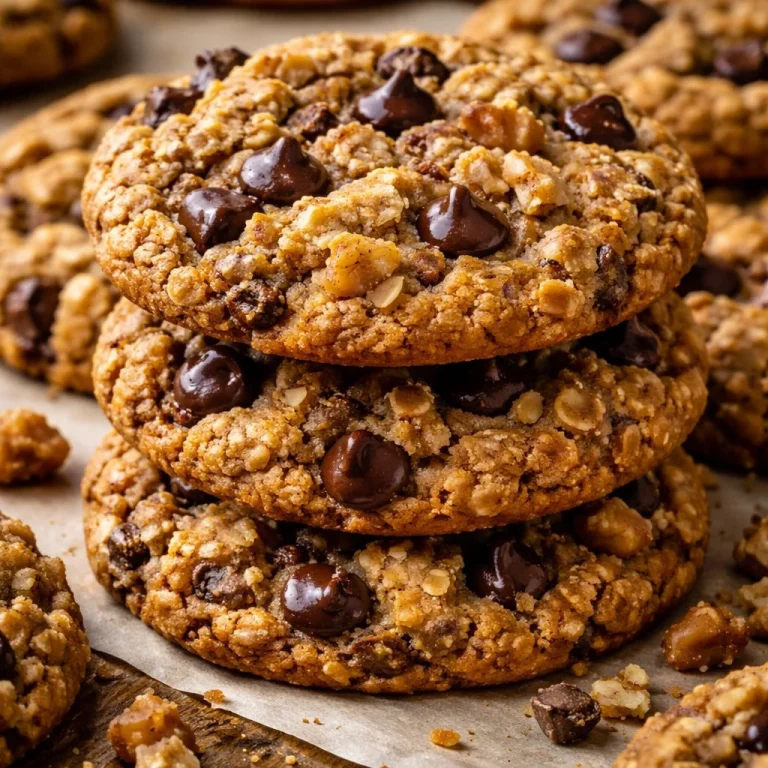
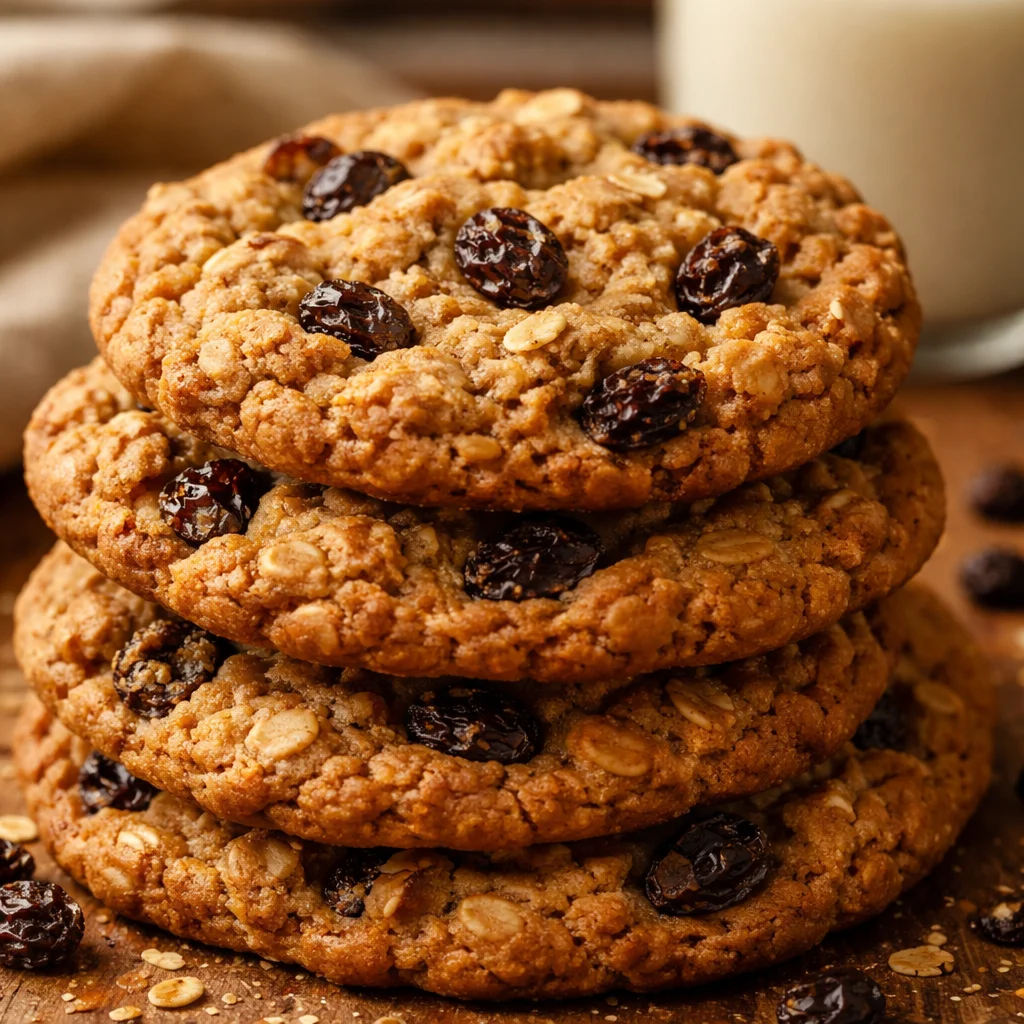
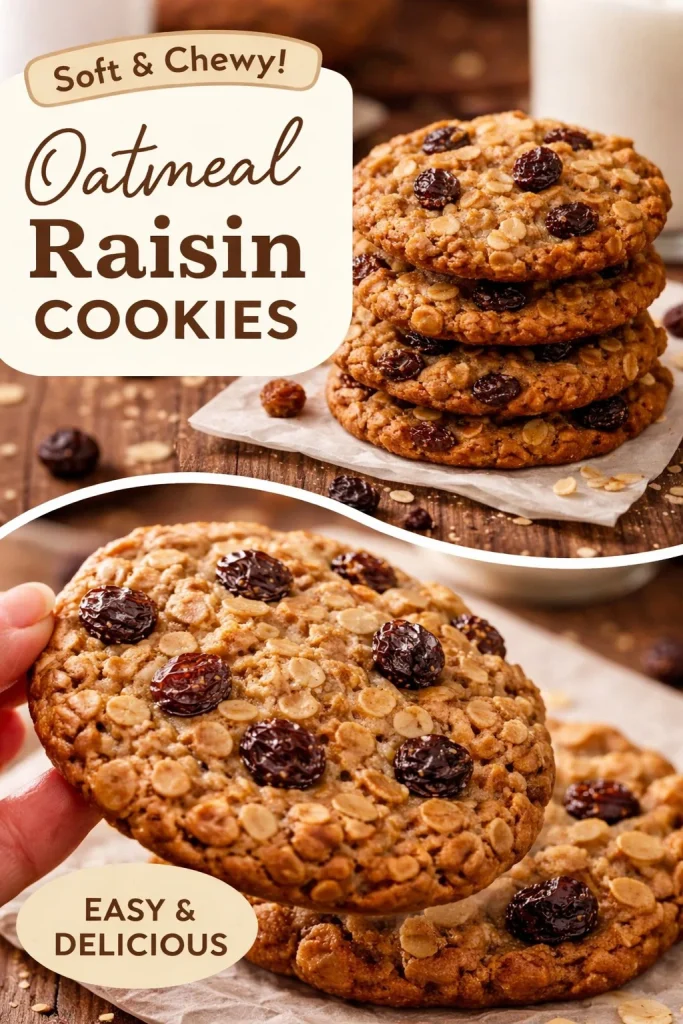
Oatmeal Raisin Cookies

I’ve baked these oatmeal raisin cookies more times than I can count — they’re the kind that disappear from the tin before guests can ask for seconds. Chewy centers, lightly crisp edges, warm spices and plumped raisins make them a dependable favorite for lunchboxes, tea time, or a cozy weekend treat.
Why you’ll love this dish
This recipe hits the sweet spot between quick and comforting. It uses pantry-friendly ingredients, comes together fast, and chills in the fridge so you can bake fresh batches whenever you want. The honey or molasses adds depth and chewiness, while old-fashioned oats deliver the satisfying texture most people expect from a classic oatmeal raisin cookie.
“Perfectly chewy with just enough spice — my kids asked for these every week.” — a regular tester
Great for: afternoon snacks, school lunches, make-ahead cookie plates for holidays, or when you want a simple, crowd-pleasing bake that doesn’t fuss.
Step-by-step overview
- Cream butter and sugars until light and fluffy to trap air for tenderness.
- Add egg, honey (or molasses), and vanilla for moisture and flavor.
- Fold in dry ingredients lightly so the cookies stay tender.
- Stir in oats and raisins by hand; chill the dough to control spread.
- Scoop, bake until edges are golden and tops look set, then cool on the tray.
This short roadmap helps you scan the flow before you dive into the full ingredient list and directions.
What you’ll need
- 1 cup all-purpose flour (125 g)
- 1/2–1 teaspoon ground cinnamon (to taste)
- 1/8 teaspoon ground nutmeg
- 1/2 teaspoon baking soda
- 1/4 teaspoon salt
- 1/2 cup unsalted butter (112 g), softened to room temperature
- 1/2 cup packed brown sugar (105 g)
- 1/4 cup granulated sugar (50 g)
- 1 large egg, room temperature
- 1 tablespoon honey (15 ml) or molasses (for deeper flavor)
- 2 teaspoons pure vanilla extract
- 1 1/2 cups old-fashioned oats (large-flake)
- 2/3 cup raisins
Notes and substitutions:
- Swap raisins for chocolate chips or chopped dried apricots for variation.
- For gluten-free, use a 1:1 gluten-free flour blend and certified gluten-free oats.
- If you prefer chewier cookies, use all brown sugar (no granulated) and the full tablespoon of molasses or honey.
Step-by-step instructions
- Preheat the oven to 350°F (180°C). Line two baking sheets with parchment paper.
- Whisk the flour, cinnamon, nutmeg, baking soda, and salt in a medium bowl. Set aside.
- In a large bowl, beat the softened butter with the brown and granulated sugars until light and fluffy, about 2 minutes.
- Add the egg, honey (or molasses), and vanilla. Beat until just combined.
- With the mixer on low, add the flour mixture. Mix only until the dry streaks disappear. Overmixing dries cookies.
- Stir in the oats and raisins by hand. The dough will be sticky. Use a spatula to fold evenly.
- Cover the bowl with plastic wrap and refrigerate for 30 minutes (or up to overnight). Chilling firms the butter and stops excessive spreading.
- Scoop dough using a 1–1.5 tablespoon scoop or tablespoon into balls. Space them about 2 inches apart on the prepared sheets.
- Bake one tray at a time on the middle rack for 9–11 minutes. Look for tops that are just set and edges that are lightly golden. Centers will still be soft.
- Remove from the oven and let the cookies cool fully on the tray — they finish cooking as they cool.
Baking tips: Bake a test cookie first if your oven runs hot or cold. Adjust time by 30 seconds to a minute as needed.
Best ways to enjoy it
- Warm from the tray with a pat of butter or a small scoop of vanilla ice cream.
- Plate three with a hot cup of tea or coffee for an afternoon pick-me-up.
- Pack into lunchboxes with a sliced apple for a balanced snack.
- Add a sprinkling of flaky sea salt on top right after baking for a gourmet finish.
How to store & freeze
Short-term: Store completely cooled cookies in an airtight container at room temperature for up to 4 days. Add a slice of bread to the container to keep them soft (replace bread every day or two).
Refrigeration: Keep in an airtight container for up to 1 week. Bring to room temp or rewarm briefly in the microwave to soften.
Freezing (baked): Freeze cooled cookies in a single layer on a sheet pan, then transfer to a freezer bag. Freeze up to 3 months. Thaw at room temp or warm in a 300°F (150°C) oven for 5–7 minutes.
Freezing (dough): Scoop dough balls onto a tray, freeze until solid, then transfer to a bag. Bake from frozen, adding 1–2 minutes to the bake time. Dough will keep up to 3 months.
Food safety: Don’t eat raw dough because of raw egg and uncooked flour. Always cool baked cookies on the tray to avoid undercooked centers.
Pro chef tips
- Soften butter to room temperature, not melty; it should give slightly when pressed. This helps creaming trap air for a lighter texture.
- Beat butter and sugars long enough to lighten color — about 2 minutes — but avoid overbeating after adding flour.
- Chill the dough: it makes neater, thicker cookies and concentrates flavors.
- Use old-fashioned oats for texture. Quick oats make a softer, more homogenous cookie.
- If raisins are dry, soak them for 10 minutes in hot water, drain, and pat dry — they’ll plump in the oven and taste juicier.
- Bake one tray at a time on the middle rack for even color and consistent results.
Creative twists
- Nutty: Add 1/2 cup chopped walnuts or pecans for crunch.
- Spiced: Increase cinnamon to 1 teaspoon and add 1/4 teaspoon ginger for a warming holiday version.
- Chocolate oat: Replace raisins with 2/3 cup chocolate chips for kid-friendly swaps.
- Vegan: Use 1/4 cup melted coconut oil or vegan butter instead of butter, substitute the egg with a flax egg (1 tbsp ground flax + 3 tbsp water), and use maple syrup for the honey.
- Lower sugar: Reduce granulated sugar to 2 tablespoons and use all brown sugar for a slightly less sweet, more molasses-forward cookie.

Common questions
Q: Can I use quick oats instead of old-fashioned oats?
A: Yes, but the texture changes. Quick oats produce a softer, less chewy cookie. For classic chew, stick with old-fashioned (large-flake) oats.
Q: How long does the dough need to chill?
A: A minimum of 30 minutes firms the butter and reduces spreading. Chilling overnight develops deeper flavor and is fine too.
Q: Why aren’t my cookies chewy?
A: Overbaking is the usual culprit. Remove them when tops look set and edges are lightly golden — the centers should still be soft. Also, using some molasses or all brown sugar helps chewiness.
Q: Can I freeze the dough or baked cookies?
A: Yes. Freeze baked cookies up to 3 months. For dough, freeze scooped balls on a tray, then store in a bag; bake from frozen with 1–2 extra minutes.
Q: Is there an egg-free version?
A: Use a flax egg (1 tbsp ground flax + 3 tbsp water, set 5 minutes) to replace the large egg. Texture will be slightly different but still tasty.
Conclusion
If you want a reliably tasty classic, this oatmeal raisin recipe is approachable and flexible — perfect for weekday baking or weekend cookie exchanges. For more inspiration and variations from well-tested sources, try the version at Best Oatmeal Raisin Cookies Recipe – The Pioneer Woman and see another trusted method at Soft & Chewy Oatmeal Raisin Cookies – Sally’s Baking Addiction.
Chewy Oatmeal Raisin Cookies
Ingredients
Method
- Preheat the oven to 350°F (180°C). Line two baking sheets with parchment paper.
- Whisk the flour, cinnamon, nutmeg, baking soda, and salt in a medium bowl. Set aside.
- In a large bowl, beat the softened butter with the brown and granulated sugars until light and fluffy, about 2 minutes.
- Add the egg, honey (or molasses), and vanilla. Beat until just combined.
- With the mixer on low, add the flour mixture. Mix only until the dry streaks disappear to avoid overmixing.
- Stir in the oats and raisins by hand. The dough will be sticky.
- Cover the bowl with plastic wrap and refrigerate for 30 minutes (or up to overnight).
- Scoop dough onto the prepared sheets spacing them about 2 inches apart.
- Bake one tray at a time for 9–11 minutes, until tops are just set and edges are lightly golden.
- Remove from the oven and let cookies cool on the tray to finish cooking.