
No-Bake Oreo Peanut Butter Pie

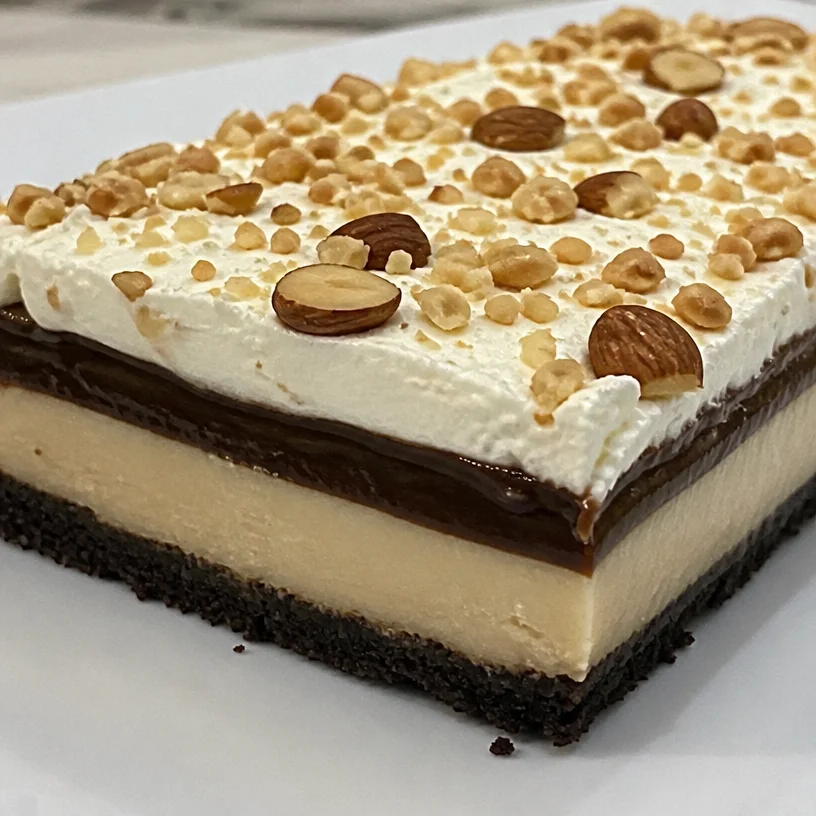
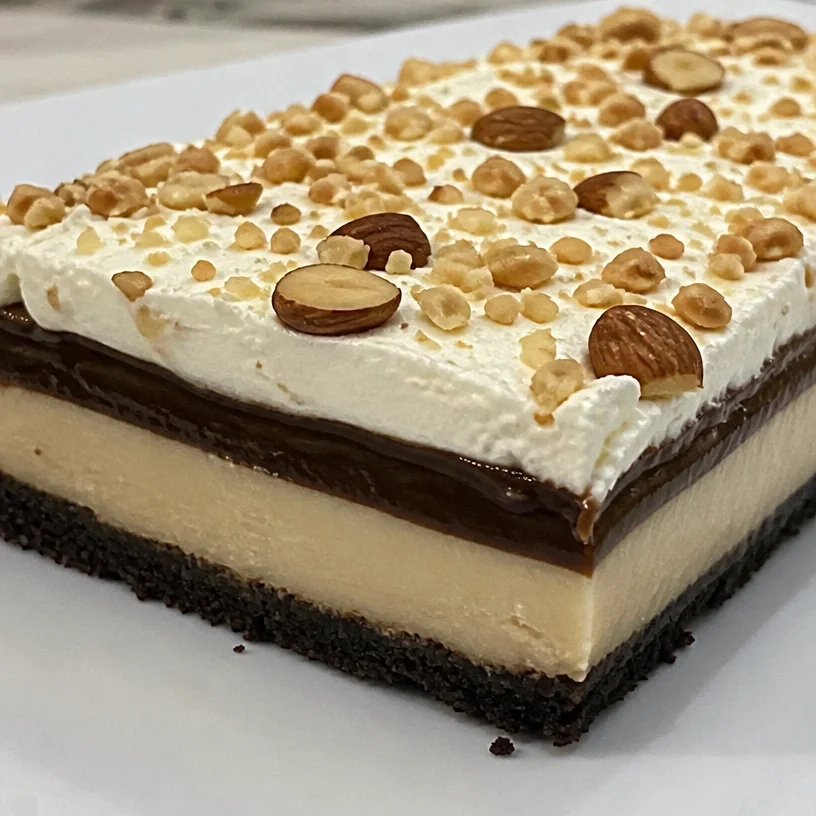
No-Bake Oreo Peanut Butter Pie is a dessert that combines creamy peanut butter with rich chocolate and is so simple to make that it will quickly become a staple in your home. Imagine a chocolate cookie crust filled with a luscious peanut butter and cream cheese mixture, topped with whipped cream and chocolate pudding. This pie is perfect for gatherings, BBQs, or just to satisfy your sweet tooth on any day. My family always raves about it, often requesting it for birthdays and celebrations! You may also find No Bake Peanut Butter Pie useful.
What Makes This Recipe Special
There are countless reasons to fall in love with this No-Bake Oreo Peanut Butter Pie. First, it requires no oven, making it a great option for hot summer days or when you’re short on time. It’s a crowd-pleaser — kids and adults alike adore the combination of peanut butter and chocolate. Plus, it’s budget-friendly and comes together in no time, which means you can whip it up for unexpected guests or a last-minute dessert craving. You may also find Chewy Reeses Pieces Peanut Butter Brownies useful.
"This pie is a game changer! The creamy peanut butter filling is just heavenly, and the Oreo crust adds the perfect crunch!" You may also find Chocolate Peanut Butter Pie useful.
Preparing No-Bake Oreo Peanut Butter Pie
Let’s take a look at how to create this delectable dessert in just a few easy steps. Not only is it quick to prepare, but the chilling time allows the flavors to meld beautifully. You may also find No Bake Peanut Butter And Pumpkin Dog Treats useful.
Ingredients
Here’s what you’ll need for this luscious pie:
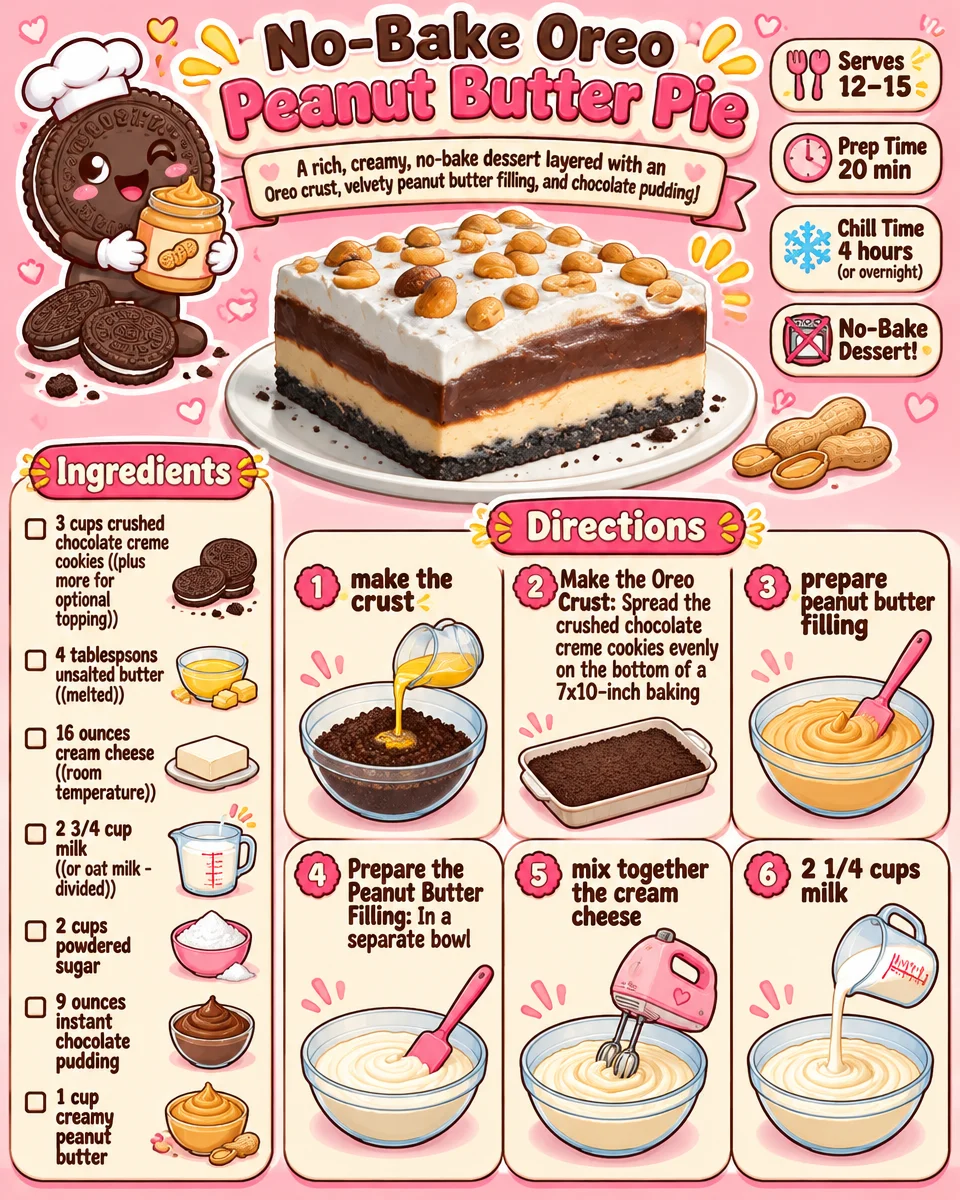
- 3 cups crushed chocolate creme cookies (plus more for optional topping)
- 4 tablespoons unsalted butter (melted)
- 16 ounces cream cheese (room temperature)
- 2 3/4 cups milk (or oat milk; divided)
- 2 cups powdered sugar
- 5.9 ounces instant chocolate pudding
- 1 cup creamy peanut butter
- 8 ounces whipped topping
- Chopped peanuts (optional)
Directions
Now let’s dive into the step-by-step instructions:
-
Make the Oreo Crust: Start by spreading the crushed chocolate cookies evenly across the bottom of a 7×10-inch baking dish. Pour the melted butter over the cookies, then press down gently with the bottom of a measuring cup to compact the crust. Set aside to chill while you prepare the filling.
-
Prepare the Peanut Butter Filling: In a separate bowl, beat together the cream cheese, 2 1/4 cups of milk, peanut butter, and powdered sugar until the mixture is smooth and creamy. Spread this peanut butter mixture evenly over the chilled cookie crust.
-
Make the Chocolate Pudding Layer: Prepare the chocolate pudding according to the package directions, but reduce the milk by 1/2 cup. If you’re using dairy-free milk, remember to mix on high speed for optimal results.
-
Add the Toppings: Spread a generous layer of whipped topping over the pudding layer. Finish with a sprinkle of chopped peanuts and additional crushed cookies for texture and flavor.
-
Chill and Serve: Refrigerate the pie for at least 4 hours to allow it to set properly. Once chilled, slice up your delicious pie, serve, and enjoy!
Serving Suggestions
When you serve No-Bake Oreo Peanut Butter Pie, consider adding a dollop of extra whipped cream or a sprinkle of chocolate shavings on top. For those extra special touches, you could pair it with a scoop of vanilla ice cream, or even serve it alongside fresh berries for a refreshing contrast.
How to Store
Storing leftovers? This pie keeps well in the fridge for up to a week. Just make sure it’s covered to preserve its freshness. If you want to save it for later, you can freeze individual slices. Just wrap them tightly in plastic wrap and foil. Thaw in the refrigerator before serving.
Tips to Make
- Use Room Temperature Ingredients: Make sure the cream cheese is at room temperature to avoid clumps in your filling.
- Customize Your Toppings: Feel free to experiment with toppings — mini chocolate chips, crushed Reese’s, or even drizzles of chocolate syrup can elevate this dessert.
- Watch Your Measuring: When measuring the milk, be precise, especially when adjusting the pudding mix for dairy-free options.
Variations
Want to switch things up? You could try using different flavors of instant pudding, such as vanilla or caramel, to create unique twists on this classic recipe. Or for a bit of fun, layer in some peanut butter cups or swap out the chocolate cookie crust for a graham cracker crust!
FAQs
How long does this pie need to chill?
It’s best to chill the pie for at least 4 hours. This time allows it to set properly for the perfect slices.
Can I substitute the dairy milk for a non-dairy alternative?
Absolutely! Oat milk or almond milk work very well and maintain the creamy consistency of the pie.
How can I make this pie gluten-free?
You can easily substitute the chocolate cookies with a gluten-free version.
Conclusion
No-Bake Oreo Peanut Butter Pie is a fantastic dessert choice for any occasion. For more inspiration, you can explore similar recipes like The Best No-Bake Oreo Peanut Butter Pie and for an alternative twist, consider checking out this delightful Oreo Peanut Butter Pie Recipe. Enjoy your baking adventure!
No-Bake Oreo Peanut Butter Pie
Ingredients
Method
- Spread the crushed chocolate cookies evenly across the bottom of a 7x10-inch baking dish.
- Pour the melted butter over the cookies, then press down gently with the bottom of a measuring cup to compact the crust.
- Set aside to chill while you prepare the filling.
- In a separate bowl, beat together the cream cheese, 2 1/4 cups of milk, peanut butter, and powdered sugar until the mixture is smooth and creamy.
- Spread this peanut butter mixture evenly over the chilled cookie crust.
- Prepare the chocolate pudding according to the package directions, but reduce the milk by 1/2 cup.
- If you’re using dairy-free milk, remember to mix on high speed for optimal results.
- Spread a generous layer of whipped topping over the pudding layer.
- Finish with a sprinkle of chopped peanuts and additional crushed cookies for texture and flavor.
- Refrigerate the pie for at least 4 hours to allow it to set properly.
- Once chilled, slice up your delicious pie, serve, and enjoy!