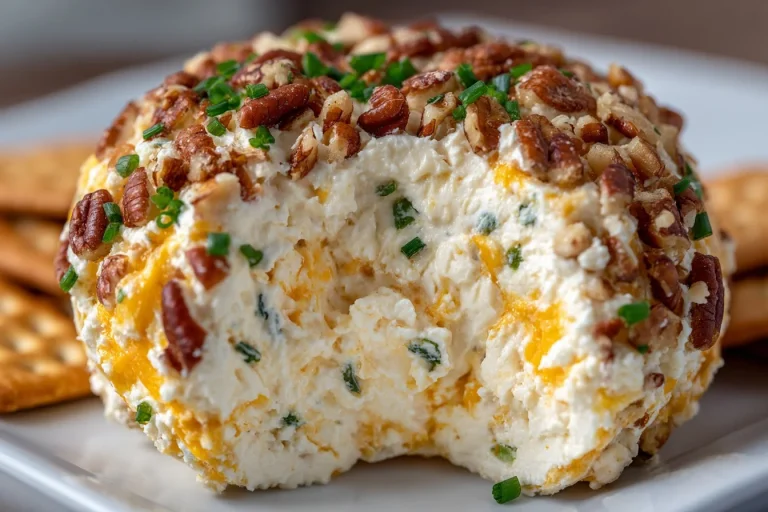
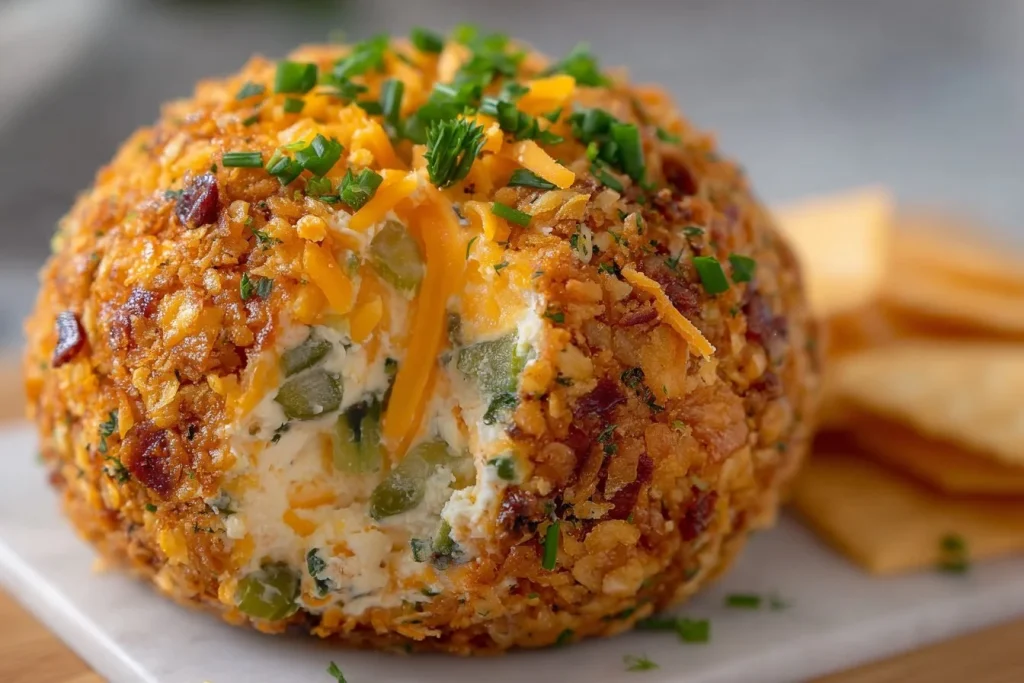
Dill Pickle Cheese Ball Recipe
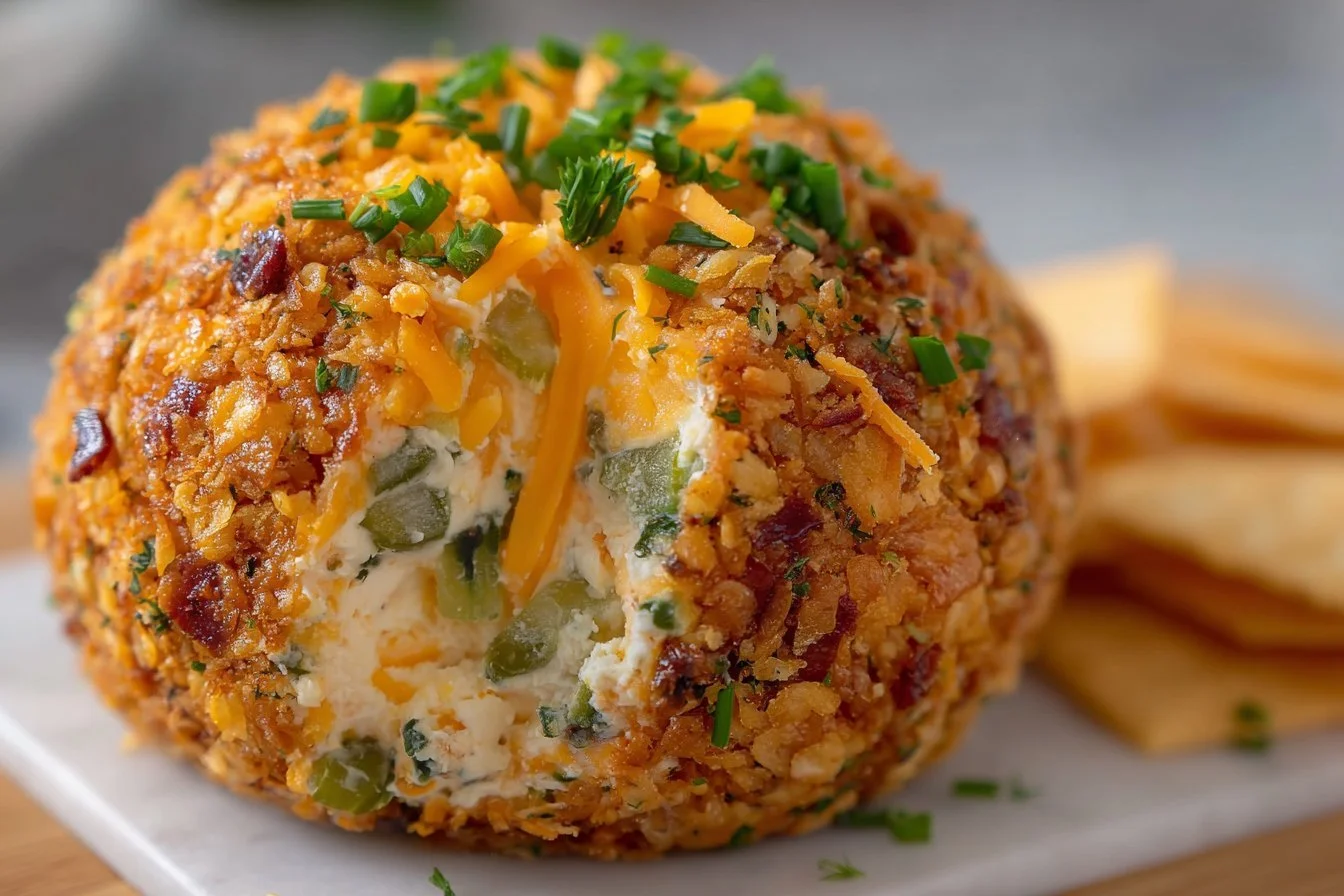
I first made this dill pickle cheese ball for a summer potluck and it disappeared before I could grab a second cracker. Bright, tangy pickles and fresh dill cut through the richness of cream cheese and sharp cheddar, making a spread that’s equal parts nostalgic and unexpected. It’s a no-bake, make-ahead party favorite that’s perfect for game day, holiday gatherings, or an easy appetizer when friends drop by. If you love bold, crunchy flavors in a creamy package, this is for you — and if you want other crowd-pleasing cream cheese recipes, try this best cream cheese chicken chili recipe for a heartier option.
Why you’ll love this dish
This cheese ball balances creamy, salty, and acidic notes in one simple package. It comes together quickly, travels well, and can be chilled hours (or a day) ahead so you’re not scrambling before guests arrive. It’s kid-friendly when the pickles are chopped small, yet sophisticated enough for adults who like a bit of tang.
“I brought this to a holiday party and everyone asked for the recipe — the dill and lemon zest finish made it stand out.” — party-goer review
The recipe is also budget-friendly: basic pantry staples and jarred pickles turn into something that looks homemade and festive.
How this recipe comes together
Quick overview before you start so you know what to expect:
- Soften and whip the cream cheese mixture until light and spreadable.
- Fold in cheddar, chopped dill pickles, and fresh dill.
- Shape the mixture into a ball using plastic wrap and chill until firm.
- Roll the cold ball in a bright coating of cheddar, dill, and lemon zest.
- Plate and serve with crackers or a crisp vegetable platter.
What you’ll need
Cheeseball:
- 16 ounces cream cheese, softened
- 4 tablespoons sour cream
- 1/2 teaspoon garlic powder
- 1 teaspoon lemon juice
- Salt and pepper, to taste
- 1 cup shredded cheddar cheese
- 1½ cups chopped dill pickles (drain well and pat dry)
- 2 tablespoons fresh chopped dill
Coating:
- 1/2 cup shredded or chopped cheddar cheese
- 1 tablespoon fresh chopped dill
- 1 teaspoon lemon zest
Notes: For a lighterVersion, use reduced-fat cream cheese and Greek yogurt instead of sour cream. For extra crunch, use finely chopped cornichons or bread-and-butter pickles in place of dill pickles.
Step-by-step instructions
- Soften the cream cheese so it mixes smoothly. Room temperature about 30–60 minutes is ideal.
- In a bowl, beat the cream cheese, sour cream, garlic powder, lemon juice, and a pinch of salt and pepper with a hand mixer until smooth and fluffy (1–2 minutes).
- Stir in the shredded cheddar, chopped dill pickles, and fresh chopped dill until evenly combined.
- Lay two long pieces of plastic wrap in an “X” on a flat surface. Spoon the mixture into the center.
- Gather the plastic wrap up and twist to form a tight ball. Seal and smooth the surface with your hands.
- Refrigerate for at least 2 hours, or until firm (overnight is fine and develops more flavor).
- On a flat sheet of parchment, spread the coating ingredients in an even layer.
- Unwrap the chilled cheese ball and roll it onto the coating. Press gently to adhere any loose bits.
- Transfer to a serving platter. Serve with crackers, toasted baguette slices, or veggie sticks.
Best ways to enjoy it
Serve the cheese ball at room temperature (let it sit 10–15 minutes after removing from fridge) so it’s easy to spread. Try pairing with:
- Wheat crackers, butter crackers, or crisp pita chips.
- A crudité board of cucumber rounds, carrot sticks, and radishes.
- Tiny toasts topped with smoked salmon for an elevated bite.
For a sweet finish after this tangy starter, offer something light like these cheesecake fruit salad roll-ups as an easy dessert.
How to store & freeze
- Refrigeration: Wrap the cheese ball tightly in plastic wrap and store in the fridge for up to 5 days. Keep it covered to prevent it picking up other flavors.
- Freezing: You can freeze the cheese ball (before coating) for up to 2 months. Wrap tightly in plastic and then in foil. Thaw in the refrigerator overnight, then finish with the coating and serve.
- Food safety: Keep chilled below 40°F. Discard if left out at room temperature for more than 2 hours (1 hour in hot environments).
Pro chef tips
- Dry your pickles well: Excess moisture will make the cheese mixture runny. Pat chopped pickles with paper towels before mixing.
- Chill to firm up: The fridge step is essential. A cold cheese ball holds its shape and rolls more cleanly into the coating.
- Use freshly grated cheddar: Pre-shredded cheese often contains anti-caking agents that can affect texture.
- If you don’t have plastic wrap, shape the ball using a small bowl lined with plastic and invert it onto parchment to remove.
- For a faster assembly, form mini cheese balls using a cookie scoop and coat individually — great for cocktail parties and portion control. For a hearty dip idea, serve the same mixture warmed briefly in a small ovenproof dish until soft and bubbly.
For a savory, stick-to-your-ribs game-day spread that complements this tangy cheese ball, consider making a slow cooker classic like the Pioneer Woman crockpot cheeseburger soup.
Creative twists
- Bacon-Dill: Fold in 4–6 slices of cooked, crumbled bacon for smoky depth.
- Spicy: Add 1–2 teaspoons of chopped jalapeño or a dash of hot sauce to the mix.
- Herb Swap: Replace some dill with chives or parsley for a milder herb note.
- Vegan: Use a firm vegan cream cheese, vegan cheddar shreds, and dairy-free sour cream. Ensure pickles and other add-ins are vegan-friendly.
- Mini cheese bombs: Make bite-sized balls and skewer with cornichons for single-serve appetizers.
Common questions
Q: Can I make this ahead of time? A: Yes. Make the cheese ball up to 24 hours in advance. Keep it wrapped and refrigerated; add the fresh coating right before serving for the best texture and color.
Q: How long will the cheese ball keep once unwrapped and served? A: Once you put the cheese ball out, follow food safety rules: discard after 2 hours at room temperature (1 hour if it’s hot). Refrigerate leftovers promptly.
Q: Can I use regular dill pickle relish instead of chopped pickles? A: You can, but relish is wetter and sweeter. If you use relish, reduce the sour cream slightly and drain the relish well to avoid a watery mixture.
Q: What’s the best way to get the lemon zest to stick? A: Zest the lemon directly over the coating mix and gently press the coating onto the chilled ball. The slight moisture from the cheese helps the zest adhere.
Q: Is there a low-sodium version? A: Use low-sodium or rinsed pickles, reduced-sodium cheddar, and taste before adding extra salt. Lemon and dill add brightness so you won’t need as much salt.
Conclusion
This dill pickle cheese ball is a high-impact, low-effort appetizer that travels well and keeps guests coming back for more. For another take on this snack-style crowd-pleaser, see The Fast Recipe’s detailed version of the Best Dill Pickle Cheese Ball. If you want a homestead-style spin with clever ingredient swaps and tips, check out I Am Homesteader’s Dill Pickle Cheese Ball for extra inspiration.
Dill Pickle Cheese Ball
Ingredients
Method
- Soften the cream cheese to mix smoothly, around 30–60 minutes at room temperature.
- In a bowl, beat the cream cheese, sour cream, garlic powder, lemon juice, and a pinch of salt and pepper with a hand mixer until smooth and fluffy (1–2 minutes).
- Stir in the shredded cheddar, chopped dill pickles, and fresh chopped dill until evenly combined.
- Lay two long pieces of plastic wrap in an “X” on a flat surface. Spoon the mixture into the center.
- Gather the plastic wrap up and twist to form a tight ball. Seal and smooth the surface with your hands.
- Refrigerate for at least 2 hours, or until firm (overnight for more flavor).
- On a flat sheet of parchment, spread the coating ingredients in an even layer.
- Unwrap the chilled cheese ball and roll it onto the coating. Press gently to adhere any loose bits.
- Transfer to a serving platter. Serve with crackers, toasted baguette slices, or veggie sticks.