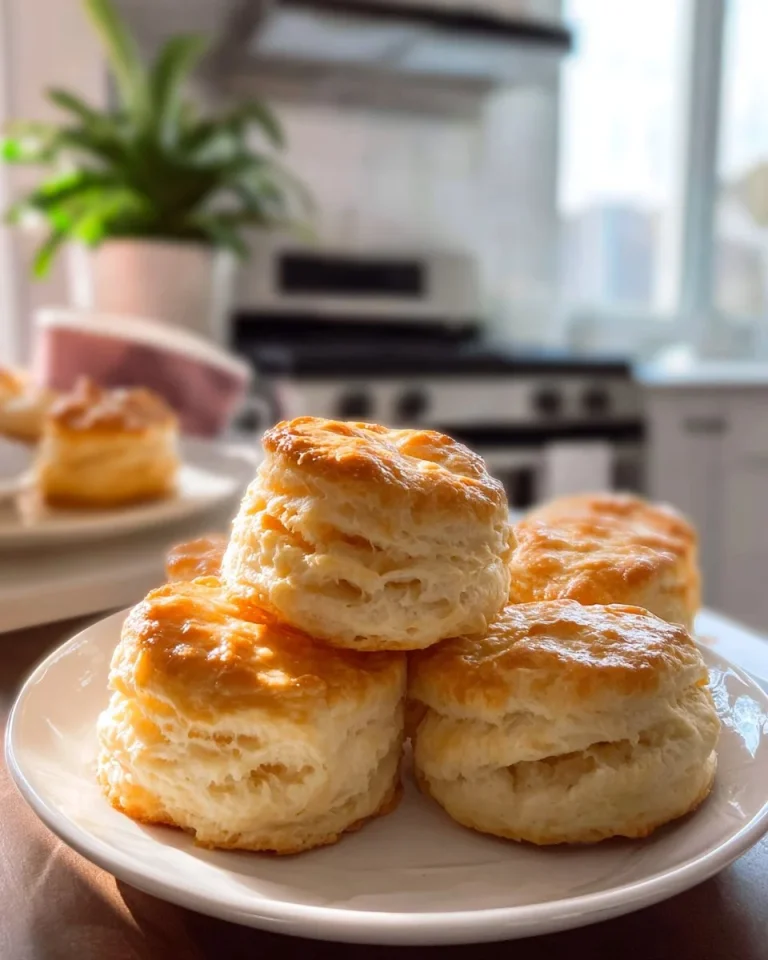
No Milk Biscuit Recipe (Dairy Free)

I grew up with flaky, golden biscuits that didn’t rely on milk — just flour, cold fat, and a little patience. These no milk, dairy-free biscuits are quick, wallet-friendly, and perfect when your fridge is low or you’re serving someone with a dairy intolerance. They brown beautifully, have tender layers, and pair with everything from soup to jam.
Why you’ll love this dish
This recipe proves you don’t need milk or buttermilk to get tender, flaky biscuits. It’s fast, uses pantry staples, and is forgiving for beginners. Make it for a busy brunch, a weeknight soup night, or when guests drop by and you want something warm and homemade without scrubbing out the butter dish.
“Surprisingly light and flaky — we couldn’t tell there was no milk. Great for allergy-friendly breakfasts.” — a repeat tester
One quick note: if you want another easy variation, I tested a similar water-based biscuit recipe and liked how it handled — see this version for comparison: Easy biscuit recipe no milk needed.
The cooking process explained
Before you start: this dough is intentionally shaggy and handled gently to keep biscuits tender. The general flow:
- Combine dry ingredients.
- Cut cold shortening into the flour until the mix looks like coarse crumbs.
- Add cold water sparingly until the dough just holds together.
- Pat, fold a couple of times to create layers, then chill the shaped biscuits so the fat stays cold.
- Bake at high heat for fast oven spring and golden tops.
Expect about 10 minutes active prep, 30 minutes chilling, and 15–20 minutes baking. That chilling step is small but makes a noticeable difference in lift.
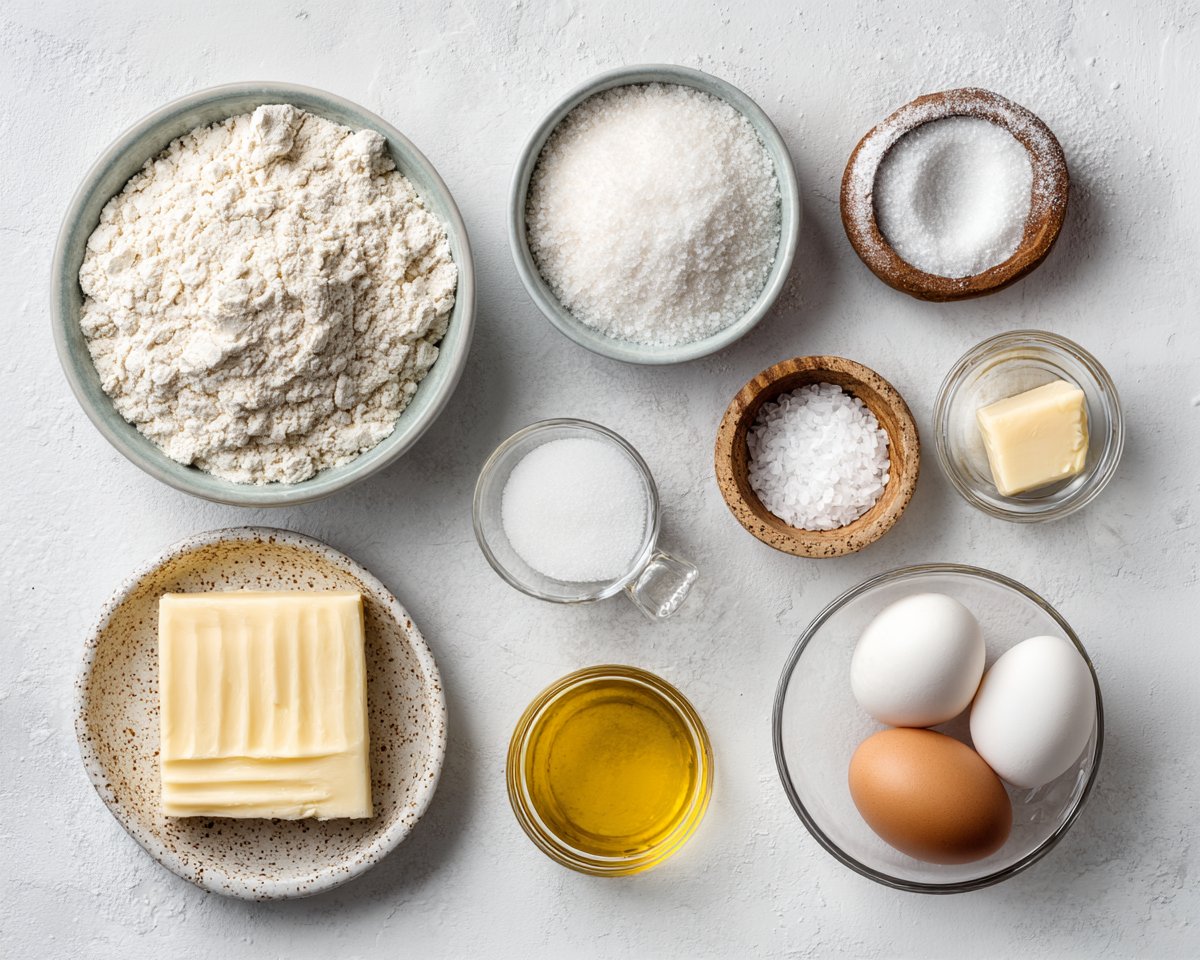
What you’ll need
- 3 cups all-purpose flour
- 3 teaspoons baking powder
- 3/4 teaspoon salt
- 12 tablespoons shortening, cold (3/4 cup) — use vegetable shortening for dairy-free, or cold coconut oil for a subtle flavor
- 1 cup water, cold (you may not need every drop)
Notes:
- For a slightly richer flavor without dairy, use a vegan butter-flavored shortening or add 1 teaspoon sugar for a hint of sweetness.
- If you prefer less processed fat, replace shortening with chilled coconut oil, but expect a faint coconut note.
Step-by-step instructions
- Preheat and prep: Line a baking sheet with parchment but don’t preheat the oven yet (you’ll preheat later). Keep the shortening and water very cold.
- Mix dry ingredients: In a large bowl, whisk together the flour, baking powder, and salt until evenly blended.
- Cut in the fat: Add the cold shortening. Use a pastry cutter or your fingertips to work the fat into the flour until the mixture resembles coarse crumbs with pea-sized pieces of fat.
- Add water: Drizzle in the cold water a little at a time. Stir with a fork or knife until the dough just holds together — it should be shaggy, not smooth. You might not need all the water.
- Form layers: Turn the dough out onto a lightly floured surface. Gently press it into a rectangle, then fold it over and press again. Repeat once or twice until it’s about 1 inch thick — don’t overwork.
- Cut biscuits: Use a 2–3 inch round or cutter and press straight down (no twisting) to get clean edges. Transfer biscuits to a parchment-lined sheet about 3 inches apart.
- Chill: Refrigerate the tray for 30 minutes; cold biscuits rise more and keep layers distinct. Meanwhile preheat the oven to 425°F.
- Optional finish: Brush the tops with melted dairy-free butter for color.
- Bake: Bake 15–20 minutes until the tops are golden and a toothpick shows a few moist crumbs.
- Rest and serve: Let cool 5 minutes before serving so crumbs set.
Best ways to enjoy it
- Classic pairing: split warm with dairy-free butter and jam or honey.
- Savory breakfast sandwich: layer with a plant-based sausage patty and scrambled tofu.
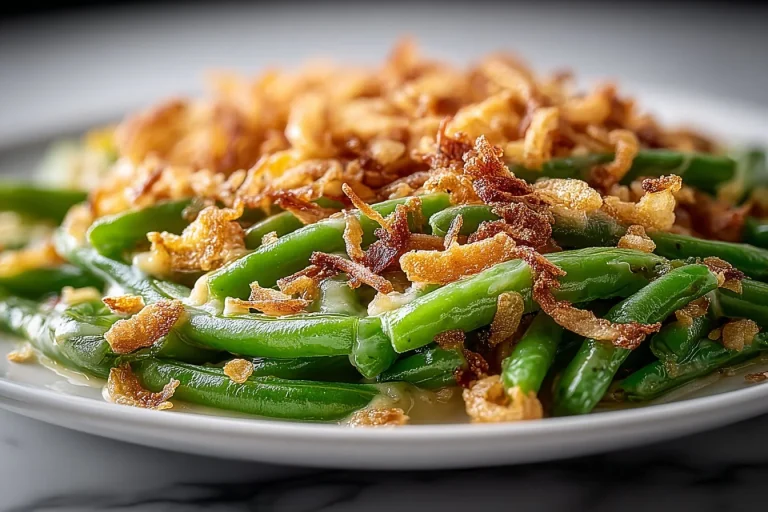
- Soup companion: excellent with tomato soup, chili, or a creamy dairy-free chowder.
- Brunch board: serve with sliced fruit, dairy-free cheese, and a small pot of maple syrup.
If you like presentation, stack biscuits on a wooden board and brush again with melted dairy-free butter right before serving for shine.
Storage and reheating tips
- Room temperature: Keep biscuits in an airtight container for up to 24 hours to retain crisp edges.
- Refrigerator: Store up to 3 days in a sealed container. Reheat at 300°F for 8–10 minutes to refresh.
- Freezing: Flash-freeze baked biscuits on a tray, then transfer to a freezer bag for up to 2 months. Reheat from frozen at 350°F for 12–15 minutes.
- Reheating from thawed: Warm in a 325–350°F oven for 6–8 minutes. Avoid the microwave — it makes them chewy.
Always check temperature and don’t leave perishable fillings at room temp for more than 2 hours.
Pro chef tips
- Keep everything cold: Fat should be cold to create pockets that turn into flaky layers during baking.
- Don’t overwork: Folding once or twice is enough; overworking develops gluten and makes tough biscuits.
- Use a straight-down cutter: Twisting seals the edges and prevents rise. If you want taller biscuits, stack the dough to increase layers.
- Chill the tray: Cold biscuits hit a hot oven and get better oven spring if chilled first.
- Shortcut: If short on time, skip the 30-minute chill and bake — they’ll still be tasty, though a touch denser.
If you want a buttermilk-style flavor and have a little lemon or vinegar, try a 1/2 teaspoon vinegar in the water for a faint tang, but don’t replace all the water with acidic liquid — it can alter the dough texture.
Creative twists
- Herb & garlic: Fold 1–2 tablespoons chopped fresh herbs (rosemary, chives) and 1/2 teaspoon garlic powder into the dry mix.
- Cheesy dairy-free: Stir 1/2 cup grated dairy-free cheddar into the flour for savory biscuits.
- Sweet cinnamon-sugar: Add 1–2 tablespoons sugar and a teaspoon cinnamon to the flour; sprinkle tops with cinnamon-sugar before baking.
- Whole wheat swap: Replace up to half the flour with whole wheat for nuttier flavor — add 1–2 tablespoons extra water if needed.
- Gluten-free option: Use a cup-for-cup gluten-free flour blend that contains xanthan gum; texture will be slightly different.
For a slightly different technique and a tested variation that also uses water, check this water-based biscuit adaptation: 3-ingredient buttermilk-style biscuits.

Helpful answers
Q: How long does this recipe take from start to finish?
A: Active prep is about 10 minutes. Add 30 minutes chilling and 15–20 minutes baking. Total roughly 55–65 minutes, though you can skip the chill for a faster result.
Q: Can I replace shortening with butter or oil?
A: Regular butter contains dairy, so it defeats the purpose unless you use a dairy-free butter. Coconut oil works but can add flavor. Vegetable shortening gives the lightest, flakiest texture.
Q: Are these biscuits vegan?
A: Yes, if you use vegetable shortening or another plant-based fat and dairy-free butter for brushing, the recipe is vegan.
Q: Why chill the biscuits before baking?
A: Chilling keeps the fat cold so it creates steam pockets in the oven, which gives better lift and flakiness.
Q: Can I make the dough ahead?
A: Yes — shape and chill the biscuits on the tray, then cover and refrigerate up to 24 hours before baking. You can also freeze raw biscuits on the tray, then transfer to a bag; bake from frozen adding a few extra minutes.
Conclusion
If you want a second perspective on a quick no-milk biscuit, this 5 Ingredient No Milk Biscuit Recipe (Made In 25 Minutes) is a useful comparison for timing and technique. For a water-based biscuit that focuses on simplicity and allergy-friendly baking, see this tested approach: Dairy Free Biscuits Made with Water.
Enjoy these biscuits warm. They’re a small, reliable recipe that proves great texture doesn’t require dairy.

No Milk, Dairy-Free Biscuits
Ingredients
Method
- Line a baking sheet with parchment but don’t preheat the oven yet.
- Keep the shortening and water very cold.
- In a large bowl, whisk together the flour, baking powder, and salt until evenly blended.
- Add the cold shortening. Use a pastry cutter or your fingertips to work the fat into the flour until the mixture resembles coarse crumbs.
- Drizzle in the cold water a little at a time. Stir with a fork or knife until the dough just holds together — it should be shaggy, not smooth.
- Turn the dough out onto a lightly floured surface. Gently press it into a rectangle, then fold it over and press again. Repeat once or twice until it’s about 1 inch thick.
- Refrigerate the tray for 30 minutes.
- Preheat the oven to 425°F.
- Use a 2–3 inch round cutter and press straight down. Transfer biscuits to a parchment-lined sheet about 3 inches apart.
- Bake for 15–20 minutes until golden.
- Let cool for 5 minutes before serving.