Purple Yam Butter Mochi
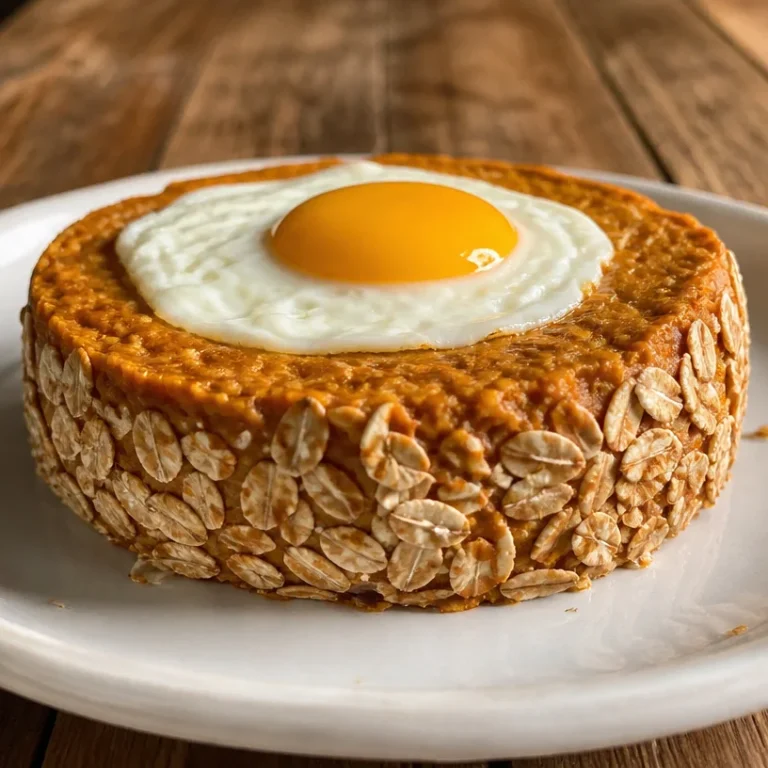
I still remember the first time I baked purple yam butter mochi—its crackly, buttery top and chewy, ube-purple interior felt like a nostalgic hug in dessert form. This simple one-bowl bake turns mashed ube (or sweet ube halaya) and mochiko into a dense, tender bar that’s perfect for potlucks, afternoon tea, or bringing a bit of Filipino-Hawaiian comfort to your weeknight baking.
Why you’ll love this dish
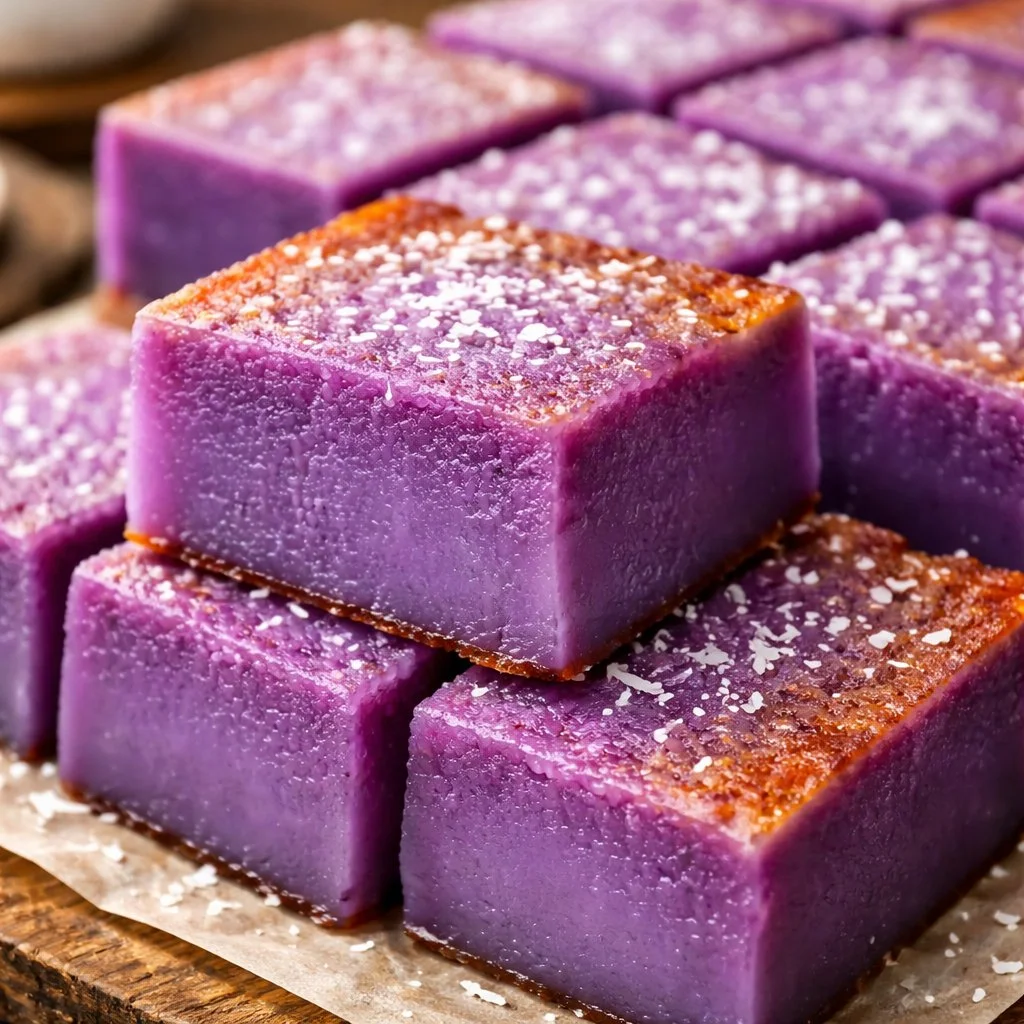
Purple Yam Butter Mochi blends the chewy, almost custardy texture of classic butter mochi with the floral, earthy sweetness of ube. It’s colorful without artificial dyes (if you use natural ube), forgiving for beginner bakers, and a great make-ahead treat that travels well. Use full-fat coconut milk and real butter for the richest flavor, or swap in lighter options if you prefer.
“A crowd-pleaser—crispy on top, chewy inside, and the ube color makes it feel special. My family fights over the first slice.” — home baker review
If you like simple, buttery baked goods that taste like home, try a savory biscuit or two alongside this dessert for contrast, such as the 3-ingredient buttermilk biscuits.
Step-by-step overview
Before you pull out the bowl, here’s the process in a glance:
- Preheat and prep an 8×8-inch pan so it’s ready.
- Stir all ingredients in one large bowl until smooth.
- Pour the batter into the pan and bake until the top sets.
- Cool completely (this is important) so the mochi firms up for slicing.
This is a straightforward, single-bowl bake that requires no creaming or rising time—just careful mixing and patient cooling.
What you’ll need
- 1 cup ube (purple yam), mashed (or ube halaya)
- 1 cup glutinous rice flour (mochiko)
- 1 cup coconut milk (full-fat for richest flavor)
- 1/2 cup sugar (adjust to taste if using sweetened ube halaya)
- 1/4 cup butter, melted
- 1/2 teaspoon baking powder
- 1/4 teaspoon salt
- 1 teaspoon vanilla extract
- Optional: shredded coconut for topping
Notes and substitutions:
- If using store-bought ube halaya, taste the halaya first and reduce the added sugar if it’s already sweetened.
- Mochiko (glutinous rice flour) is naturally gluten-free—don’t confuse the name “glutinous” with wheat gluten.
- For a dairy-free version, swap melted butter for coconut oil and ensure your ube halaya has no dairy.
Step-by-step instructions
- Preheat the oven to 350°F (175°C). Grease an 8×8-inch baking dish with butter or nonstick spray.
- In a large mixing bowl, add the mashed ube (or ube halaya).
- Pour in the glutinous rice flour, coconut milk, and sugar. Add the melted butter, baking powder, salt, and vanilla.
- Stir vigorously until the batter is smooth and the color is uniform—no flour streaks. The batter should be thick but pourable.
- Pour the batter into the prepared pan and smooth the top with a spatula. If using shredded coconut, sprinkle it on now or after cooling for texture.
- Bake for 45–50 minutes. The top should be set and slightly crackled; a toothpick inserted in the center should come out clean or with a few moist crumbs.
- Remove from the oven and cool completely in the pan. Cooling fully helps the mochi finish its chewy set.
- Once cooled, slice into squares. Serve at room temperature. Optionally spread frosting or additional shredded coconut before serving.
Best ways to enjoy it
- Serve warm or at room temperature with a strong cup of coffee or a fragrant jasmine tea.
- Top a slice with a dollop of whipped cream or a scoop of coconut ice cream for an indulgent dessert.
- Cut into bite-sized squares and serve as part of a dessert platter alongside fruit or other Filipino treats like leche flan.
- For a brunch spread, pair with savory biscuits or eggs to balance the sweetness.
Storage and reheating tips
- Room temperature: Cover leftovers with plastic wrap or place in an airtight container for up to 2 days.
- Refrigerator: Store in an airtight container for up to 5 days; mochi will firm up in the fridge. Bring to room temperature before serving for best chew.
- Freezing: Wrap individual squares in plastic and place in a freezer-safe bag for up to 2 months. Thaw in the fridge overnight, then warm gently in a 300°F oven for 8–10 minutes if desired.
- Food safety: Because this contains dairy (butter) and coconut milk, refrigerate if you won’t eat it within a day or two.
Pro chef tips
- Press out air bubbles: After pouring, tap the pan gently on the counter to release trapped air for an even crumb.
- Don’t overmix: Stir until smooth—overmixing can make the texture too dense.
- Use a thermometer: Oven temperatures vary; if your oven runs hot, check at 40 minutes. The center should not be liquid.
- If you want a shinier top, brush melted butter on the surface five minutes after removing from oven.
- For complementary seasonal pairings and plating ideas, see these seasonal serving inspirations.
Creative twists
- Ube swirl: Fold a few tablespoons of ube halaya on top before baking and swirl gently for marbling.
- Coconut crust: Press shredded sweetened coconut into the top before baking for extra crunch.
- Vegan: Replace butter with coconut oil and use a plant-based ube halaya.
- Cheese-topped: For a Hawaiian butter mochi vibe, sprinkle grated cheddar on top during the last 10 minutes of baking for a savory contrast.
- Sweet potato swap: Use purple sweet potato purée for a slightly different flavor and texture.

Your questions answered
Q: Can I use frozen ube or only fresh mashed ube?
A: Yes—thaw and drain any excess liquid from frozen ube before measuring. If using sweetened ube halaya, reduce added sugar.
Q: Is glutinous rice flour the same as regular rice flour?
A: No. Mochiko (glutinous rice flour) creates the sticky, chewy texture. Regular rice flour yields a different, crumblier crumb.
Q: How do I know when the mochi is done baking?
A: The top should be set with a slight crackle. A toothpick should come out clean or with a few moist crumbs; it shouldn’t be wet batter.
Q: Can I make this ahead for a party?
A: Absolutely. Bake it a day ahead, refrigerate, and bring to room temperature before serving—or slice and reheat gently.
Q: Is this gluten-free?
A: Yes—if you use mochiko (glutinous rice flour) and confirm that your ube halaya has no wheat additives, the recipe is gluten-free.
Conclusion
If you enjoy exploring similar buttery mochi bakes, compare this purple yam version with an Okinawan-style sweet potato butter mochi for a slightly different root-vegetable flavor from Mochi Mommy’s Okinawan sweet potato butter mochi. For another ube-forward take and technique notes, the Ube Mochi recipe at The Unlikely Baker is a useful reference.
Purple Yam Butter Mochi
Ingredients
Method
- Preheat the oven to 350°F (175°C). Grease an 8x8-inch baking dish with butter or nonstick spray.
- In a large mixing bowl, add the mashed ube (or ube halaya).
- Pour in the glutinous rice flour, coconut milk, and sugar. Add the melted butter, baking powder, salt, and vanilla.
- Stir vigorously until the batter is smooth and the color is uniform—no flour streaks. The batter should be thick but pourable.
- Pour the batter into the prepared pan and smooth the top with a spatula. If using shredded coconut, sprinkle it on now or after cooling for texture.
- Bake for 45–50 minutes. The top should be set and slightly crackled; a toothpick inserted in the center should come out clean or with a few moist crumbs.
- Remove from the oven and cool completely in the pan. This cooling step helps the mochi finish its chewy set.
- Once cooled, slice into squares. Serve at room temperature. Optionally spread frosting or additional shredded coconut before serving.