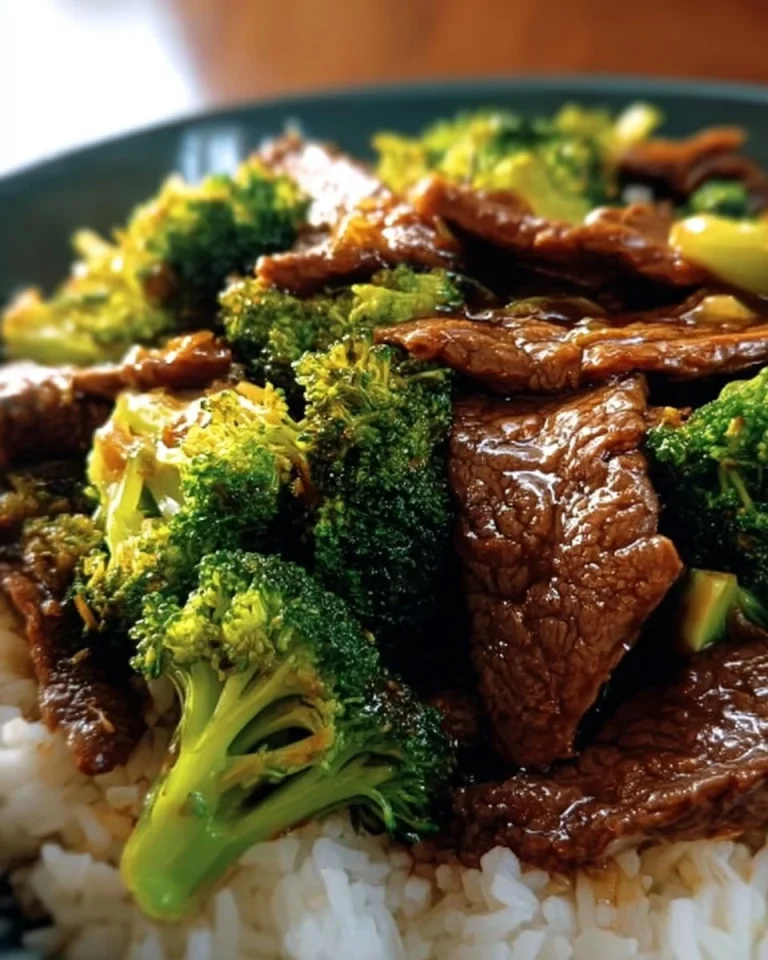
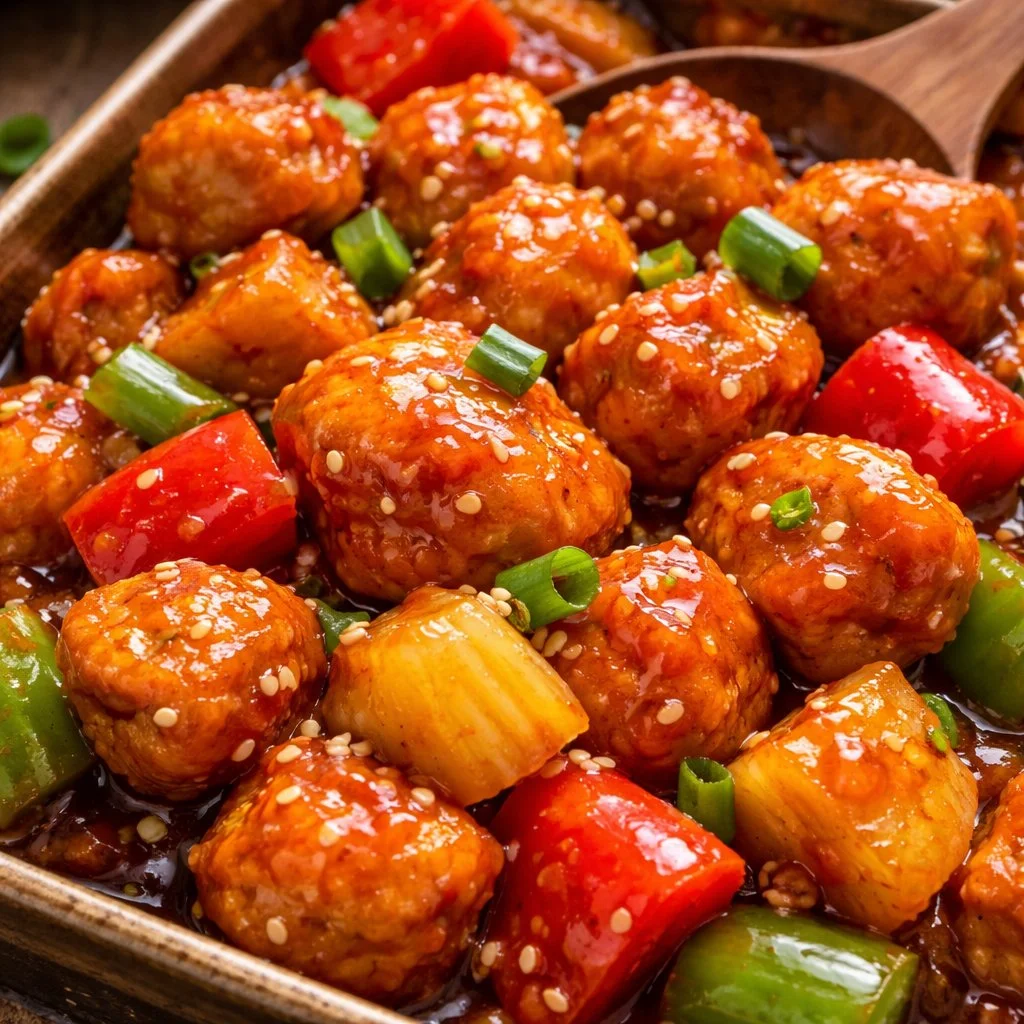
Baked Sweet and Sour Chicken

I remember the first time I made this baked sweet and sour chicken: the house filled with a warm, tangy aroma, and everyone begged for seconds. This recipe turns pantry staples into a bright, weeknight crowd-pleaser with minimal fuss. It’s great when you want takeout flavors without deep-frying or standing over a stove, and it comes together fast enough for busy evenings. If you enjoy easy chicken dinners, you might also rotate it with a slow-cooker honey garlic chicken for variety.
Why you’ll love this dish
This baked sweet and sour chicken balances tang, sweet, and savory in a single pan. It’s lighter than deep-fried versions because the cornstarch gives a lightly crisp exterior without heavy oil. Families love the pineapple-and-pepper color pop, and it’s flexible enough for picky eaters or to stretch into meal prep for the week.
“Quick, colorful, and tastes like takeout — but better for weekday dinners.” — home cook review
Why make it at home:
- Faster and less messy than frying.
- Budget-friendly: uses chicken breast and common pantry items.
- Kid-friendly flavors with the option to dial heat up or down.
- Easy to scale for guests or meal prep.
Step-by-step overview
- Toss bite-sized chicken in cornstarch, salt, and pepper to create a light crust.
- Sear the pieces briefly in a hot skillet for color and texture.
- Combine seared chicken, diced bell peppers, and pineapple in a baking dish.
- Pour over sweet and sour sauce and bake until the chicken is cooked through and the sauce is bubbling.
- Rest briefly, garnish with sesame seeds, and serve hot.
What you’ll need
- 1 lb chicken breast, cut into bite-sized pieces
- 1 cup bell peppers, diced (use mixed colors for brightness)
- 1 cup pineapple chunks (fresh or canned, drained)
- 1/2 cup sweet and sour sauce (store-bought or homemade)
- 1/4 cup cornstarch (for light crisping)
- 1 tbsp olive oil (or a neutral oil with a higher smoke point)
- Salt and pepper to taste
- Sesame seeds for garnish (optional)
Notes and substitutions:
- Swap chicken thighs for juicier results (see tips below).
- Gluten-free? Use a GF sweet-and-sour sauce and certified cornstarch.
- Want a creamier alternative? Try ideas from baked cream cheese chicken for inspiration.

How to prepare it
- Preheat the oven to 400°F (200°C). Lightly oil a medium baking dish.
- In a large bowl, toss chicken pieces with cornstarch, a pinch of salt, and freshly ground black pepper until evenly coated. Shake off excess cornstarch.
- Heat oil in a large skillet over medium-high heat until shimmering. Add chicken in a single layer. Sear, turning occasionally, until golden on all sides (about 5–7 minutes). Aim for color, not full cooking.
- Transfer seared chicken to the prepared baking dish. Add diced bell peppers and pineapple chunks. Pour the sweet and sour sauce over everything and toss gently to coat.
- Bake for 20–25 minutes, until the chicken reaches 165°F (74°C) and the sauce is bubbling and slightly thickened.
- For extra char, broil 1–2 minutes at the end — watch closely to avoid burning.
- Remove from oven, let rest 3 minutes, then sprinkle with sesame seeds and serve warm.
If you want a slightly different technique for finishing in the oven, compare methods used in the cream cheese-baked chicken guide for tips on sauce consistency and browning.
Best ways to enjoy it
- Serve over steamed jasmine or brown rice for a classic combo.
- Spoon onto fluffy quinoa or cauliflower rice for a lighter plate.
- Toss into a simple noodle bowl with scallions and a drizzle of extra sauce.
- Plate with a side of sautéed greens or steamed broccoli for color and fiber — try pairing it with chicken and broccoli nuggets for a kid-friendly spread.
Garnish ideas: sesame seeds, sliced green onion, or a light squeeze of lime to brighten the sauce.
Common questions
Q: How long does this take from start to finish?
A: Active time is about 15–20 minutes (tossing, searing, assembling). Baking adds 20–25 minutes, so plan for roughly 40–50 minutes total.
Q: Why use cornstarch on the chicken?
A: A light cornstarch coating gives you a crisp exterior and helps the sauce cling to the chicken. It’s not a heavy batter — it’s just enough to create texture.
Q: Can I use chicken thighs instead of breasts?
A: Yes. Thighs stay juicier and can tolerate slightly longer baking. Trim excess fat and cut into similar-sized pieces for even cooking.
Q: Is the sauce safe to thicken in the oven?
A: Yes. Baking concentrates and slightly reduces the sauce. If it’s too thin at the end, remove the chicken and simmer the sauce briefly on the stove to reduce, then return the chicken to coat.
Q: Can I make this ahead and reheat?
A: You can. Store cooled chicken and sauce in an airtight container. Reheat gently (below) for best texture.
Storage and reheating tips
- Refrigerate: Place cooled leftovers in an airtight container and store for 3–4 days.
- Freeze: Freeze in a freezer-safe container for up to 2 months. Thaw in the fridge overnight before reheating.
- Reheat: Gently reheat in a 350°F (175°C) oven until warmed through (about 10–12 minutes) to preserve texture. Microwave reheating works for convenience but can soften the cornstarch crust.
- Food safety: Refrigerate within two hours of cooking. Chicken should reach 165°F (74°C) when reheated.
Pro chef tips
- Don’t crowd the skillet when searing — give pieces room for even browning. Work in batches if needed.
- Use a neutral oil with a high smoke point (grapeseed, canola) if you prefer over olive oil for higher heat.
- Sear for color only; the oven finishes cooking. This prevents overcooking while still building flavor.
- Pat chicken dry before tossing with cornstarch for optimal crisping.
- If your sweet and sour sauce is very sweet, add a splash of rice vinegar or lime juice to brighten it.
Creative twists
- Spicy variation: Add 1 tsp sambal oelek or sriracha to the sauce before baking.
- Veg-forward: Add snap peas, sliced carrots, or baby corn to the baking dish for extra texture.
- Paleo/Whole30: Use arrowroot instead of cornstarch and a compliant sweet-and-sour sauce made from apple cider vinegar and natural sweeteners.
- Vegetarian: Substitute firm tofu, pressed and coated in cornstarch, then sear and bake the same way.
Conclusion
For another oven-based take on this classic, check out Sweet and Sour Chicken {Baked} – Mel’s Kitchen Cafe to compare techniques and flavor balances. If you want an alternative method and extra plating ideas, see Baked Sweet and Sour Chicken – RecipeTin Eats for inspiration.
Baked Sweet and Sour Chicken
Ingredients
Method
- Preheat the oven to 400°F (200°C). Lightly oil a medium baking dish.
- In a large bowl, toss chicken pieces with cornstarch, a pinch of salt, and freshly ground black pepper until evenly coated. Shake off excess cornstarch.
- Heat oil in a large skillet over medium-high heat until shimmering. Add chicken in a single layer. Sear, turning occasionally, until golden on all sides (about 5–7 minutes). Aim for color, not full cooking.
- Transfer seared chicken to the prepared baking dish. Add diced bell peppers and pineapple chunks. Pour the sweet and sour sauce over everything and toss gently to coat.
- Bake for 20–25 minutes, until the chicken reaches 165°F (74°C) and the sauce is bubbling and slightly thickened.
- For extra char, broil 1–2 minutes at the end — watch closely to avoid burning.
- Remove from oven, let rest 3 minutes, then sprinkle with sesame seeds and serve warm.