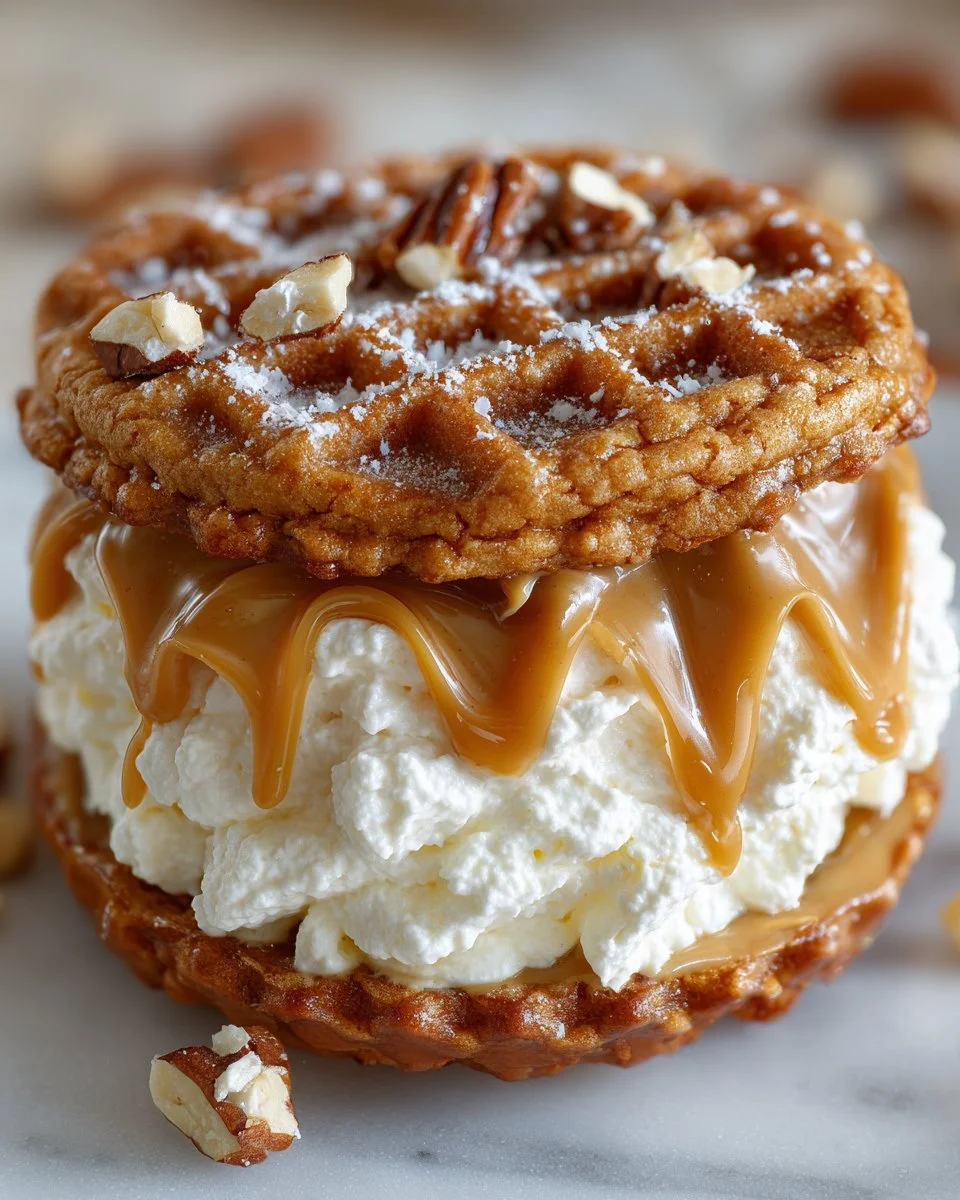
Homemade Nutter Butters

I still remember the first time I pressed a fork into warm peanut-butter dough and smelled that toasty, nostalgic aroma—these homemade Nutter Butters bring that exact comfort but better: fresher, peanutier, and perfect for making sandwiches the way you like them. They’re a quick bake for after-school snacks, lunchbox treats, or a crowd-pleasing addition to a cookie platter—crispy at the edges, tender in the center, and filled with a creamy peanut-butter frosting that’s just sweet enough. If you enjoy playful cookie recipes, you might also like my crunchy take on Butterscotch Crunch Cookies for another sweet, textured option.
Why you’ll love this dish
Make these when you want a nostalgic cookie that’s faster than store-bought and customizable to your pantry. The dough is straightforward (no chilling required unless your kitchen is warm), uses mostly pantry staples, and bakes in under ten minutes. The cornstarch keeps the cookies tender, while the brown sugar adds a subtle molasses note—so you get both crunch and chew in every bite.
"These felt like the Nutter Butters I grew up with but better—fresh, peanut-forward, and perfect for cookie sandwiches." — a quick note from a taste-test
If you’re keeping an eye on the grocery budget, small-batch sweets like these pair well with other simple recipes; try a budget-friendly treat like this 4-ingredient donut recipe for a full, low-cost dessert spread.
How this recipe comes together
This recipe is easy to follow and predictable. You’ll cream peanut butter, butter, and brown sugar for a smooth base, beat in egg and vanilla, then fold in flour, cornstarch, baking soda, and salt to form a soft dough. Scoop tablespoon-sized balls, flatten slightly, and bake until the edges just color. While cookies cool, whisk together the filling from peanut butter, powdered sugar, heavy cream, and vanilla. Finally, sandwich the filling between cooled cookies for that classic Nutter Butter experience.
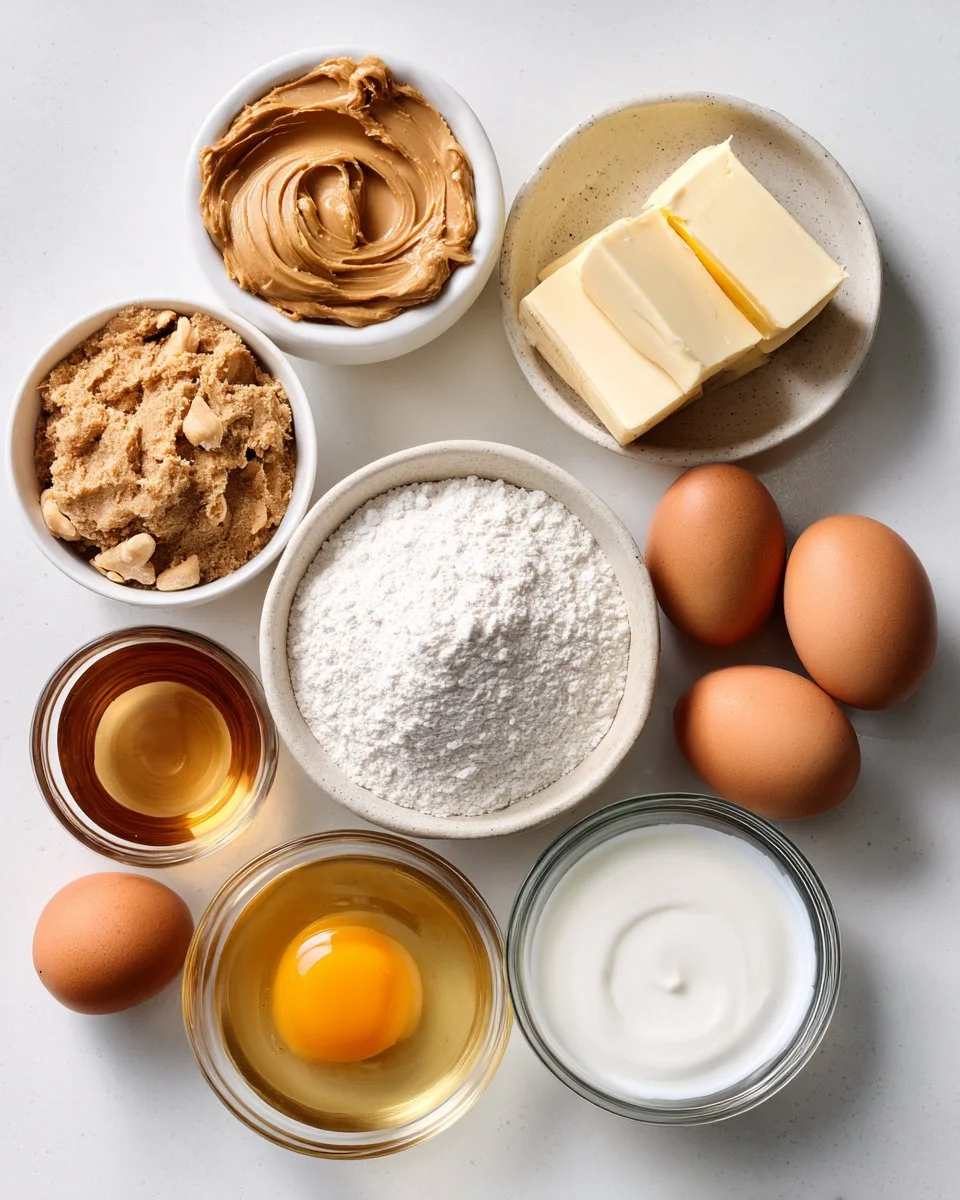
What you’ll need
- 3/4 cup creamy peanut butter (see note: natural peanut butter can be used—see Tips)
- 1/4 cup unsalted butter, at room temperature (can substitute with margarine or vegan butter for a dairy-free version)
- 1 cup packed light brown sugar
- 1 large egg, at room temperature (or flax egg for vegan)
- 1 teaspoon pure vanilla extract
- 1 cup all-purpose flour (for gluten-free, try a 1:1 gluten-free flour blend)
- 2 tablespoons cornstarch (key for a tender crumb)
- 1/4 teaspoon baking soda
- 1/2 teaspoon salt
- Filling:
- 1/2 cup creamy peanut butter
- 2/3 cup powdered sugar
- 3–4 tablespoons heavy cream (or milk for a lighter filling)
- 1/2 teaspoon vanilla extract
If you’re imagining these on a brunch table, they also pair nicely with buttery biscuits—try serving alongside best-ever homemade biscuits for a textural contrast.
Step-by-step instructions
- Preheat and prep. Heat the oven to 350°F (175°C). Line baking sheets with parchment paper.
- Cream. In a mixing bowl, beat 3/4 cup peanut butter and 1/4 cup butter until smooth.
- Add sugar. Stir in 1 cup packed light brown sugar and beat until the mixture is homogenous and slightly glossy.
- Add egg and vanilla. Beat in the egg and 1 teaspoon vanilla until fully incorporated.
- Mix dry ingredients. In another bowl, whisk together 1 cup all-purpose flour, 2 tablespoons cornstarch, 1/4 teaspoon baking soda, and 1/2 teaspoon salt.
- Combine. Gradually add the dry mix to the wet and stir until a soft dough forms. Don’t overmix.
- Scoop and flatten. Use a tablespoon to portion dough into balls. Place on prepared sheets and gently flatten each ball with your fingers or the back of a spoon.
- Bake. Bake for 8–10 minutes, until the edges are lightly golden but centers still look slightly soft.
- Cool fully. Transfer cookies to a wire rack and cool completely before filling—warm cookies will make the filling melt.
- Make filling. Whisk 1/2 cup peanut butter, 2/3 cup powdered sugar, 3–4 tablespoons heavy cream, and 1/2 teaspoon vanilla until smooth and pipeable.
- Assemble. Spread or pipe about a teaspoon (or more, to taste) of filling on the flat side of one cookie and sandwich with another.
- Serve. Enjoy right away or chill briefly to set the filling.
Best ways to enjoy it
Serve these cookies as a nostalgic snack with cold milk, a creamy latte, or alongside an espresso for adults. For a kids’ party, stack them on a platter with colorful toothpicks. They’re also lovely on a dessert board—pair with fruit, a few salted nuts, and small squares of chocolate. For a savory-sweet dinner party menu, they make a playful finish after a hearty main like classic homemade lasagna.
How to store & freeze
- Room temperature: Store in an airtight container at room temperature for 2–3 days. Layer with parchment to prevent sticking.
- Refrigerator: Because the filling contains heavy cream, keep filled sandwiches refrigerated for up to 5–7 days.
- Freezing: Freeze baked, unfilled cookies in a single layer on a sheet tray until firm, then transfer to a freezer bag for up to 3 months. Thaw, then fill and assemble. Alternatively, freeze assembled sandwiches for up to one month; thaw in the fridge.
- Food safety: Baked cookies are safe to leave at room temperature for short periods, but filled cookies keep best refrigerated because of the cream in the filling.
Pro chef tips
- Use creamy peanut butter for a smooth texture. Natural peanut butter can separate—stir thoroughly before measuring and reduce any runny oil by draining a teaspoon if needed.
- Don’t overbake. The centers should still be slightly soft when you remove them; carryover heat finishes them on the sheet.
- Uniform scoops bake evenly. A tablespoon cookie scoop is perfect here.
- Add the cornstarch—this is the secret to the tender, almost shortbread-like crumb that mimics classic sandwich cookie texture.
- Make the filling stiffer by adding more powdered sugar, or looser with an extra splash of cream for piping.
Creative twists
- Nut-free: Swap peanut butter for sunflower seed butter and top with toasted seeds for crunch.
- Chocolate-dipped: Half-dip cooled sandwiches in melted dark chocolate and let set for a grown-up treat.
- Crunchy center: Fold 2 tablespoons of crushed peanuts into the filling for texture.
- Gluten-free or vegan: Use a 1:1 gluten-free flour and vegan butter plus a flax egg (1 tbsp ground flax + 3 tbsp water) to adapt the recipe.
- Mini version: Use a teaspoon-sized scoop and bake for 6–7 minutes for bite-sized sandwich cookies.
Your questions answered
Q: How long does this recipe take from start to finish?
A: Active time is about 20 minutes; baking and cooling add 25–40 minutes depending on how long you allow cookies to cool fully before filling.
Q: Can I use natural peanut butter?
A: Yes, but natural peanut butter often separates. Stir thoroughly, then measure. If the dough seems too oily, blot a teaspoon of oil or add a tablespoon extra flour to balance.
Q: Are these safe for lunchboxes?
A: Yes—packed in an airtight container, they travel well. If you’re worried about heat, keep filling separate and assemble at school or just before serving.
Q: Can I make the dough ahead?
A: You can refrigerate the dough for up to 48 hours (bring to room temp before scooping) or freeze portioned dough balls for up to 3 months; thaw before baking.
Q: How do I make them nut-free for allergy-friendly bake sales?
A: Use sunflower seed butter and check all labels. Consider adding a dash of lemon juice to mellow the seed-butter flavor if desired.
Conclusion
These homemade Nutter Butters are a welcoming blend of nostalgia and simplicity—perfect for weekday treats, party platters, or any time you want a better-than-store-bought sandwich cookie. For another take on this classic, see Broma Bakery’s Homemade Nutter Butters and compare variations with The Soccer Mom Blog’s recipe.

Nutter Butters
Ingredients
Method
- Preheat the oven to 350°F (175°C) and line baking sheets with parchment paper.
- In a mixing bowl, beat the peanut butter and butter until smooth.
- Stir in the brown sugar and beat until the mixture is homogenous and slightly glossy.
- Beat in the egg and vanilla until fully incorporated.
- In another bowl, whisk together flour, cornstarch, baking soda, and salt.
- Gradually add the dry mix to the wet and stir until a soft dough forms. Don’t overmix.
- Use a tablespoon to scoop dough into balls, place on the prepared sheets, and gently flatten each ball.
- Bake for 8–10 minutes, until the edges are lightly golden but centers still look slightly soft.
- Transfer cookies to a wire rack and cool completely before filling.
- Whisk together the filling ingredients until smooth and pipeable.
- Spread or pipe about a teaspoon (or more, to taste) of filling on the flat side of one cookie and sandwich with another.
- Enjoy right away or chill briefly to set the filling.