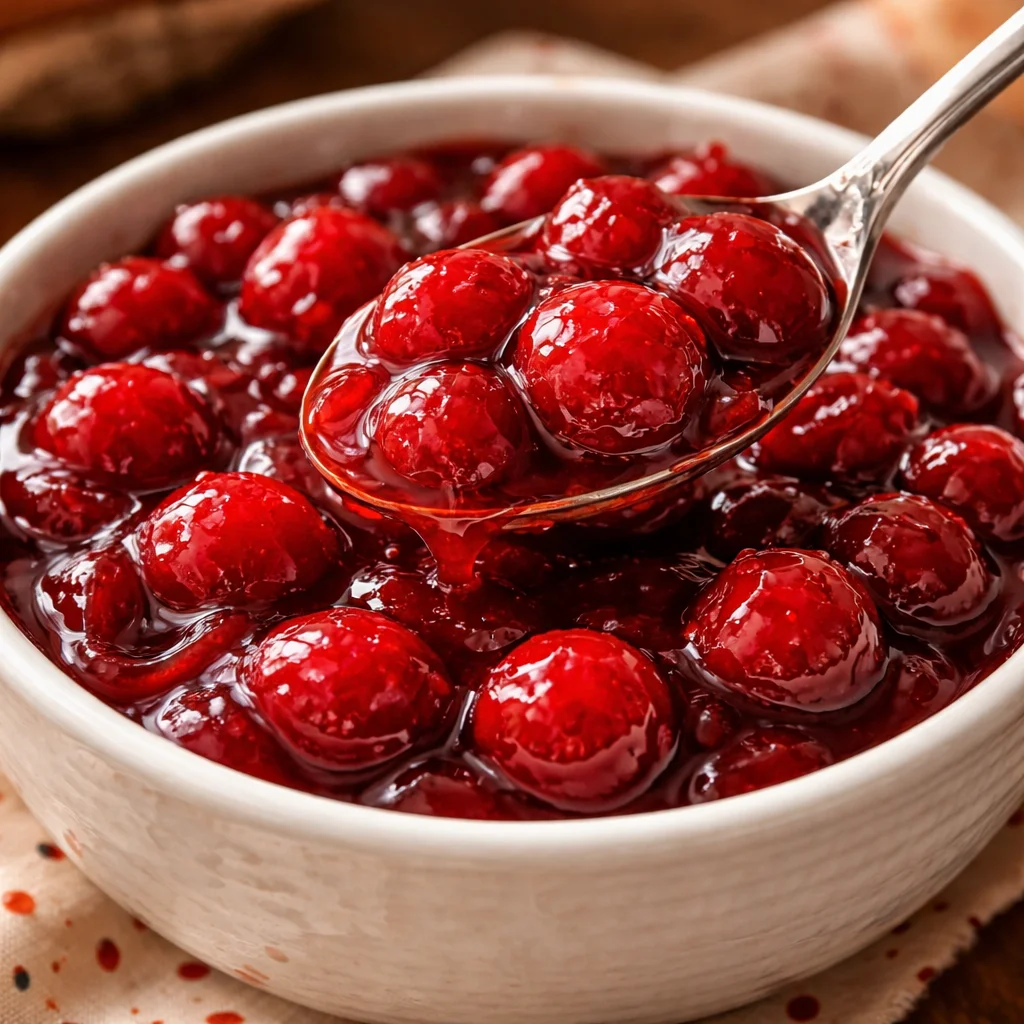
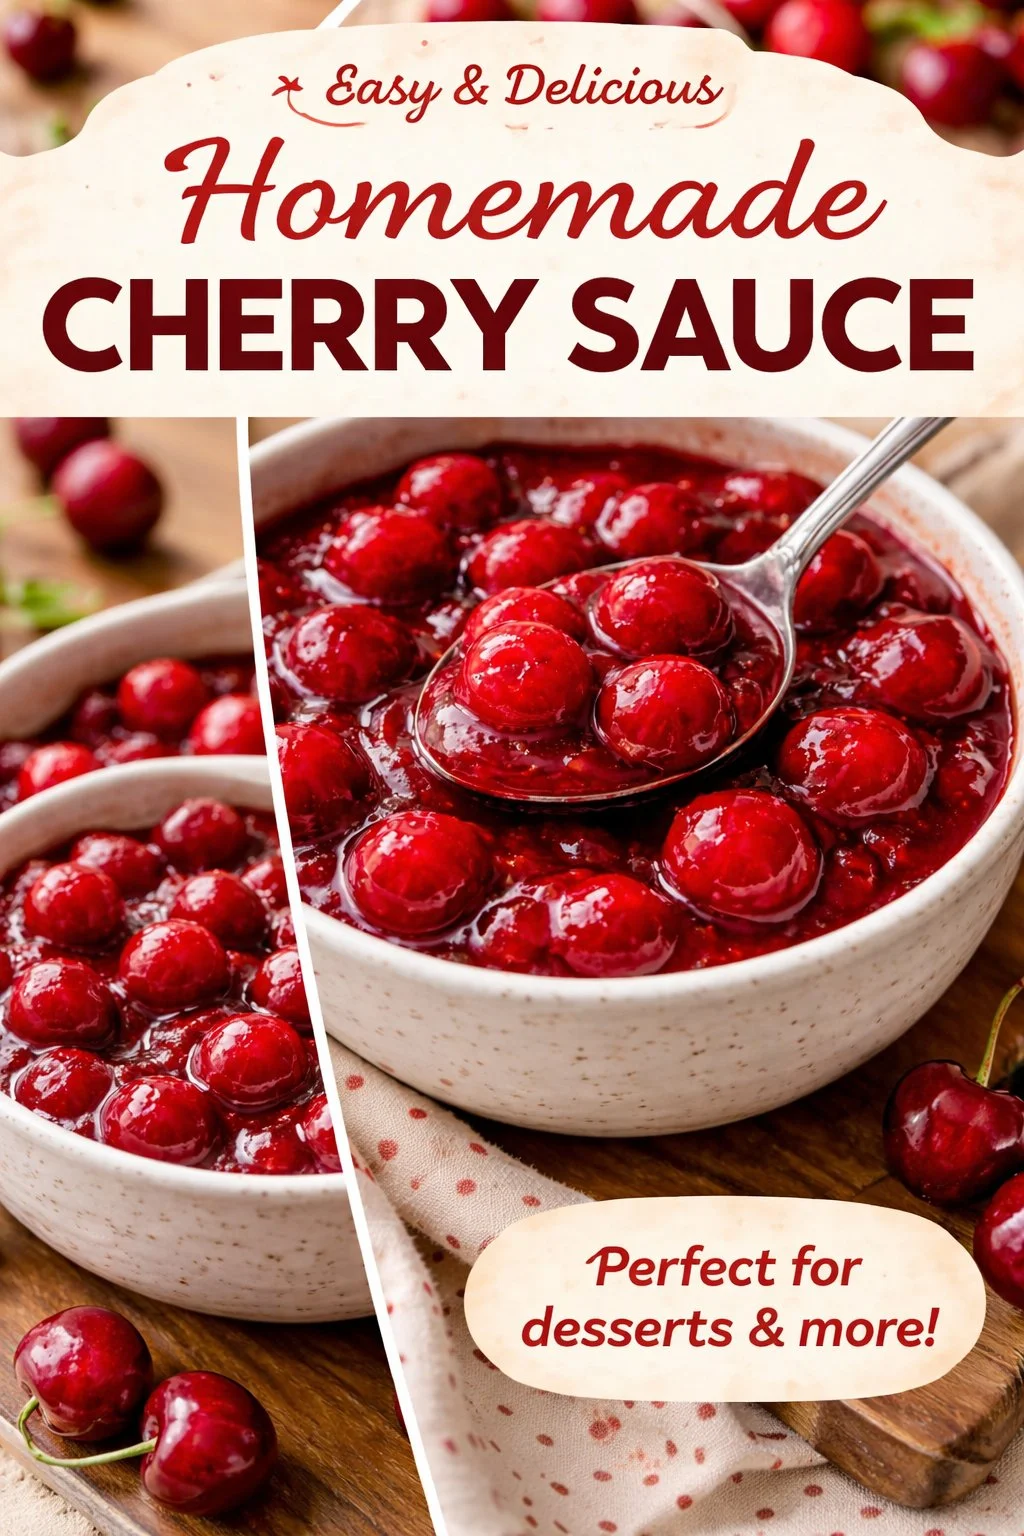
Homemade Cherry Pie Filling

I first made this cherry pie filling on a rainy afternoon when fresh cherries were on sale, and it quickly became my go-to for pies, tarts, and even spooning over ice cream. It’s a small-batch, stovetop filling that thickens quickly and tastes like summer: bright cherry fruit, a touch of lemon, and vanilla for depth. If you want an easy, make-ahead topping for desserts or to tuck into a double-crust pie, this is the recipe that never fails — and it pairs beautifully with hearty baked goods like a warm homemade chicken pot pie for contrasting sweet-and-salty menus.
Why you’ll love this dish
This filling is fast, forgiving, and flexible. It uses simple pantry items, works with frozen or fresh cherries, and thickens on the stovetop in about 10 minutes. It’s ideal when you want a bright, homemade fruit filling without fussing with canned preserves or lengthy reductions. Use it for weeknight galettes, holiday pies, or as an unexpected topping for yogurt and pancakes.
“The texture is glossy and spoonable, with a perfect balance of sweet and tart — makes every slice of pie feel homemade.”
It’s also a recipe that scales easily: double it for a 9-inch pie or halve it for a tartlet, and feel free to reduce sugar if your cherries are very sweet. If you like quick desserts, it’s a natural follow-up to simple treats like 4-ingredient donuts.
Step-by-step overview
Start by combining the cherries, sugar, cornstarch, and salt in a saucepan so the starch is distributed evenly. Heat gently to melt the sugar and release cherry juices. When the fruit-sugar mixture reaches a simmer, stir for 1–2 minutes until the cornstarch activates and the filling becomes glossy and thick. Off the heat, brighten with lemon juice, add vanilla, and finish with butter for a silky sheen. Cool before using.
What you’ll need
- 4 cups fresh or frozen cherries, pitted (about 1 pound fresh)
- 1 cup granulated sugar (reduce to 3/4 cup for very sweet cherries)
- 1/4 cup cornstarch
- 1/4 teaspoon fine salt
- 1 tablespoon lemon juice
- 1 teaspoon vanilla extract
- 1 tablespoon unsalted butter
Notes: If you’re out of cornstarch, arrowroot works as a 1:1 sub for a clearer finish. For a richer flavor, swap half the sugar for brown sugar, or stir in a teaspoon of almond extract instead of vanilla for a more pronounced nutty note. For a complementary dessert that uses similar flavor profiles, try the brown sugar pecan pie bars.
Cooking method
Follow these clear, action-oriented steps to make the filling:
- Measure the cherries, sugar, cornstarch, and salt into a medium saucepan. Stir until the dry ingredients coat the fruit evenly.
- Set the pan over medium heat. Stir constantly as the cherries warm and release their juices; the cornstarch will begin to hydrate.
- When the mixture reaches a simmer and small bubbles appear, continue stirring for 1–2 minutes. The filling should thicken and turn glossy — avoid a rapid, rolling boil to keep the fruit whole.
- Remove the pan from the heat. Stir in the lemon juice and vanilla extract to lift and round the flavors.
- Add the butter and stir until melted for a smooth, shiny finish. Let the filling cool before using in a pie or spooning over ice cream.
Best ways to enjoy it
This cherry filling is versatile. Use it as a classic 9-inch double-crust pie filling, a galette center, or a simple topping for vanilla ice cream. Spoon warm over pancakes or waffles for a breakfast upgrade. For a quick dessert, fold it into whipped cream to make a cherry shortcake filling, or layer it with cream cheese in a parfait.
Pairings: Serve with aged cheddar or a biscuit for a sweet-savory contrast, or nestle it into a baked brie for party-friendly, sweet-tart bites. If you want a biscuit base, the flavors match well with flaky, buttery biscuits such as those found in this best-ever homemade biscuits recipe.
How to store & freeze
Refrigerate cooled filling in an airtight container for up to 5 days. Reheat gently on the stovetop over low heat, stirring to revive the gloss and loosen the texture; add a splash of water if it’s too thick.
To freeze: cool completely, portion into freezer-safe containers or zipper bags, and freeze for up to 3 months. Thaw overnight in the fridge and warm gently before serving. For safety, always cool the filling to room temperature before sealing to prevent steam buildup and changes in texture.
Pro chef tips
- Even distribution: Toss the cornstarch with the sugar first so it disperses evenly and avoids clumping on the fruit.
- Gentle heat: Keep the heat at medium; too-hot temperatures break down cherries and make the filling runny.
- Gloss finish: Adding butter at the end gives a professional-looking sheen and a silkier mouthfeel.
- Taste and adjust: After adding lemon and vanilla, taste. If the cherries are very tart, a little extra sugar (a tablespoon at a time) can balance them.
- Use a potato masher lightly if you want a looser filling with some puree, but don’t over-mash — you want some whole cherries for texture.
- For savory-sweet menus, keep a jar on hand alongside mains like homemade chicken pot pie to bridge flavors at the table.
Creative twists
- Spiced cherry filling: Add 1/4 teaspoon ground cinnamon and a pinch of nutmeg while simmering.
- Cherry-almond: Stir in 1/2 teaspoon almond extract (or a tablespoon of slivered almonds when serving) for a Maraschino-like note.
- Less sugar, more fruit: Blend half the cherries before cooking and mix with whole cherries for texture with reduced sugar.
- Boozy boost: Add 1–2 tablespoons of kirsch, brandy, or dark rum off heat for grown-up depth.
- Vegan option: Replace the butter with 1 tablespoon coconut oil or vegan butter to keep it plant-based.
Your questions answered
Can I use frozen cherries?
Yes. Use frozen cherries straight from the bag — no need to thaw. They’ll release more juice, so watch the thickening time closely and stir until glossy.
What if my filling is too thin or too thick?
If too thin: simmer a little longer, or whisk a tablespoon of cornstarch with cold water and stir it in over low heat until it thickens. If too thick: stir in a tablespoon of water, lemon juice, or cherry juice until you reach the desired consistency.
How long will this keep in the fridge?
Stored in an airtight container, the filling keeps 4–5 days refrigerated. For longer storage, freeze portions for up to 3 months.
Can I use this filling for canning?
This recipe is designed for refrigeration and freezing, not hot-water bath canning as written. Commercial canning requires tested recipes and acidification levels for safety. If you want shelf-stable jars, follow a trusted, canning-specific recipe and guidance from reputable sources.
Is this gluten-free?
Yes — as written, the filling is gluten-free (cornstarch is gluten-free). If you substitute a thickener, choose a gluten-free option like arrowroot.
Conclusion
This homemade cherry pie filling is a reliable, quick way to capture summer cherries year-round — bright, shiny, and ready for pies, toppings, or creative desserts. For a visual reference and another tested version, see this helpful write-up on Homemade Cherry Pie Filling | Eat Dessert Snack. If you’re comparing techniques and proportions, Homemade Cherry Pie Filling Recipe | My Baking Addiction offers useful variations to explore.
Cherry Pie Filling
Ingredients
Method
- Measure the cherries, sugar, cornstarch, and salt into a medium saucepan. Stir until the dry ingredients coat the fruit evenly.
- Set the pan over medium heat. Stir constantly as the cherries warm and release their juices; the cornstarch will begin to hydrate.
- When the mixture reaches a simmer and small bubbles appear, continue stirring for 1–2 minutes until the filling thickens and turns glossy.
- Remove the pan from the heat. Stir in the lemon juice and vanilla extract to enhance the flavors.
- Add the butter and stir until melted for a smooth, shiny finish. Let the filling cool before using it in a pie or spooning over ice cream.