Charcuterie Cups
I learned this quick assembly trick when I needed a portable appetizer for a party—individual charcuterie cups made it effortless to hand out beautiful, no-fuss bites. Tiny, layered, and customizable, these cups pack cured meats, cheeses, fruit, and nuts into a neat, single-serve treat that looks fancier than the time it takes to make.
Why you’ll love this dish
Charcuterie cups give you all the flavor and variety of a classic charcuterie board without the fuss of slicing, arranging, or sharing a communal platter. They’re ideal for parties, potlucks, outdoor gatherings, or kid-friendly snack stations. Because each portion is contained, they’re easy to pass around, plate, or take on-the-go.
“These little cups saved my party—guests loved the presentation and I loved not having to babysit a messy board.” — a repeat party host
Reasons to try this recipe:
- Fast assembly: no cooking required, mostly prepping and layering.
- Versatile: tailor each cup for kids, guests with allergies, or themed flavors.
- Budget-friendly: use inexpensive salami and store-brand cheese alongside a few premium bites.
- Make-ahead friendly: can be prepped a few hours in advance and chilled.
Step-by-step overview
Before you start, expect three main actions: prep (slice and portion items), assemble (layer in cups), and chill or serve. Plan to spend 10–20 minutes prepping depending on how many cups you need. For a party of 12, budget 30–45 minutes including slicing and arranging.
Quick process summary:
- Slice or portion cured meats and cheeses to bite-size pieces.
- Wash and dry fruit to avoid soggy cups.
- Layer ingredients in cups: meat, cheese, fruit, then nuts; repeat if your cups are tall.
- Chill briefly or serve immediately.
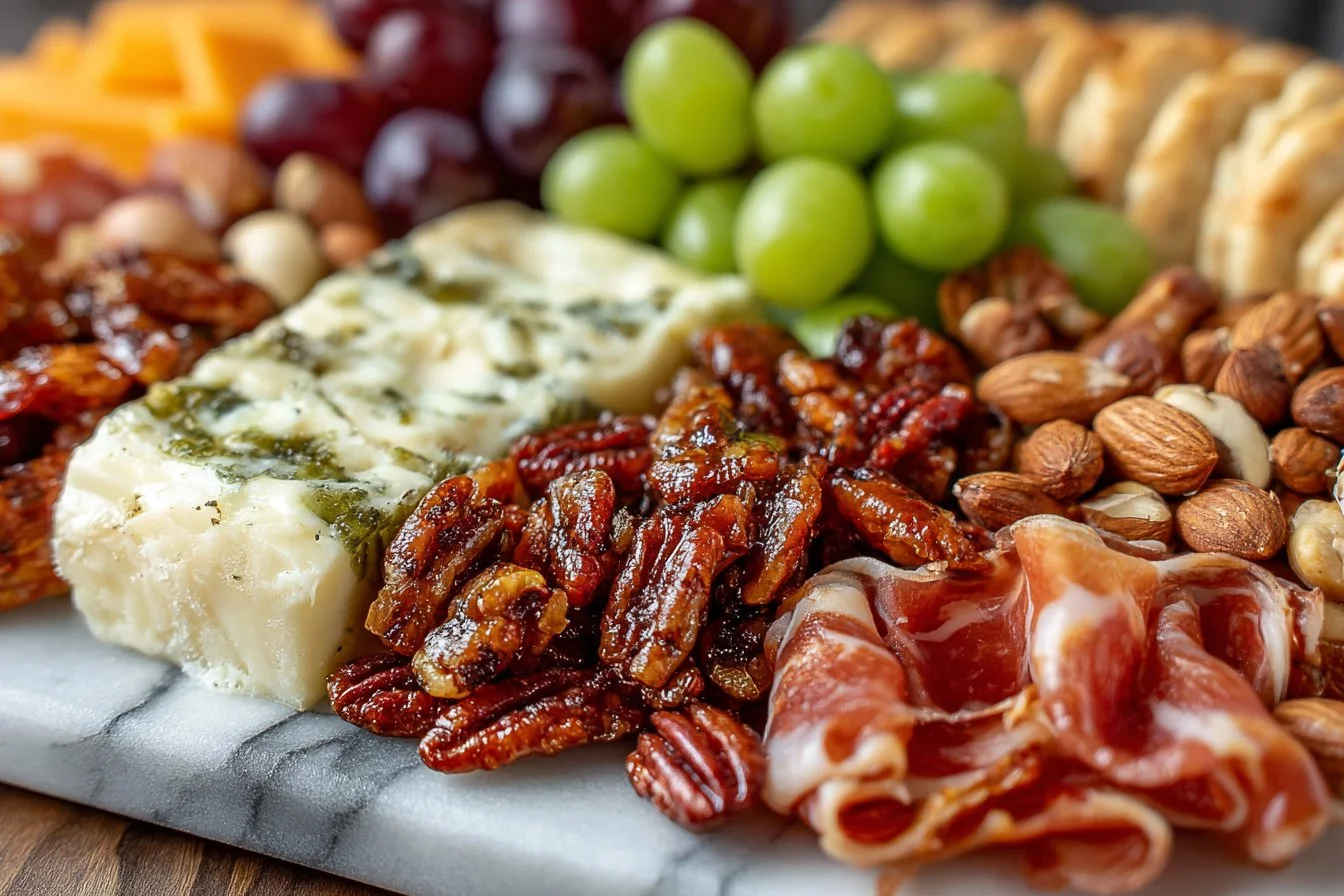
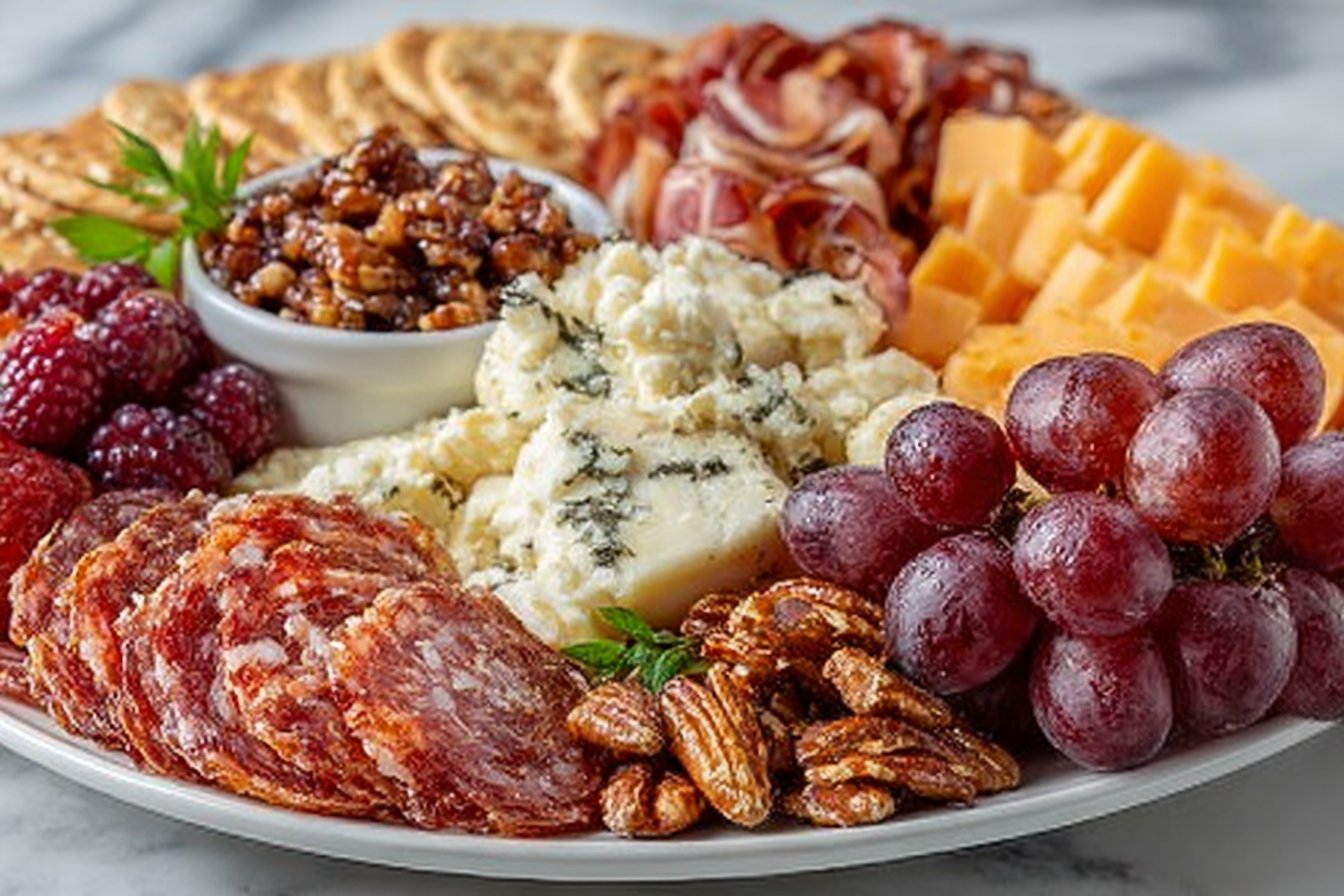
What you’ll need
- Assorted cured meats: salami, prosciutto, soppressata, or chorizo. (2–3 small slices per cup; prosciutto can be folded.)
- Artisanal cheeses: a mix such as cheddar, brie, gouda, or manchego. (Cubes or small wedges; about 1–2 oz per cup.)
- Fresh fruits: grapes, berries, apple slices, or figs. (Small pieces to bite-size; drain berries.)
- Crunchy nuts: almonds, walnuts, pecans, or pistachios. (Chopped or whole for texture.)
- Cups or small containers: clear plastic or recyclable paper cups, mini mason jars, or silicone appetizer cups.
Substitution notes:
- For nut-free events, swap seeds (pumpkin, sunflower) or crunchy roasted chickpeas.
- Dairy-free: replace cheese with hummus dollops or marinated tofu cubes.
- Vegetarian: use grilled vegetables, smoked tempeh, or marinated artichoke hearts instead of cured meats.
How to prepare it
- Gather all ingredients and a clean workspace. Line a tray with parchment for easy transfer.
- Slice meats into thin, bite-sized pieces. Fold prosciutto or roll salami to fit cups attractively.
- Cut cheeses into uniform cubes or small wedges so every bite includes cheese.
- Wash and thoroughly dry fruit; halve grapes and berries if large to prevent overcrowding.
- Chop or roughly break nuts so they sit nicely on top and add crunch.
How to prepare it
- Place a small folded slice of meat into the bottom of each cup to create a flavorful base.
- Add a cheese cube or wedge next. Push it gently so ingredients don’t topple.
- Tuck in a piece of fruit next to the cheese for color and contrast.
- Sprinkle a few nuts on top for texture and visual finish.
- If your cups are tall, repeat layers once more and finish with a decorative toothpick or herb sprig.
- Serve immediately, or cover and refrigerate for up to 4 hours before serving for best texture.
Best ways to enjoy it
- Pairings: offer a trio of dipping options—honey mustard, fig jam, or a balsamic reduction—for guests who want extra flavor.
- Beverage matches: light white wines (Sauvignon Blanc), sparkling wine, or a crisp cider complement the salty-meets-sweet profile.
- Plating: arrange cups on a slate board with small signs for flavors (e.g., “Prosciutto + Brie + Fig”).
- Event ideas: line them on a buffet, set them on cocktail tables for mingling, or place one at each place setting for seated dinners.
Keeping leftovers fresh
Short-term fridge storage:
- Cover cups tightly with plastic wrap or transfer to an airtight container. Consume within 24 hours for best texture.
- Refrigerate within 2 hours of assembly to meet food safety guidelines.
Freezing:
- Freezing is not recommended. Fruit and soft cheeses lose texture when frozen; nuts can become oily, and cured meats can change mouthfeel.
Reheating:
- These are served cold or room temperature. If you prefer warmed cheese, assemble warm cups just before serving using slightly warmed cheese or a quick broil of cheese on toast points served alongside.
Pro chef tips
- Avoid sogginess: dry fruit thoroughly and use firmer cheeses at the bottom of the cup if you expect them to sit for a while.
- Balance flavors: aim for sweet, salty, creamy, and crunchy in each cup for satisfying bites.
- Use toothpicks selectively: skewer delicate layers to stabilize tall cups for transport.
- Make transport easy: place assembled cups in a shallow tray with a damp paper towel underneath to prevent sliding.
- Time-saver: pre-slice meats and cheeses the day before and refrigerate in labeled containers.
Creative twists
- Breakfast cups: smoked salmon, cream cheese, capers, and chives on mini bagel chips.
- Mediterranean: soppressata, feta, olives, cucumber, and roasted red pepper with za’atar.
- Vegan: smoked tofu, marinated mushrooms, pickled vegetables, and roasted pepitas.
- Sweet variation: cubes of dark chocolate, candied nuts, dried apricots, and mascarpone dollop.
- Themed cups: create a “kids’ cup” with mild salami, cheddar stars, apple slices, and chocolate chips.

Common questions
Q: How long will charcuterie cups keep in the fridge?
A: Keep them covered in the refrigerator and consume within 24 hours for best texture and safety. Discard if left out more than 2 hours at room temperature.
Q: Can I prepare these ahead of time?
A: Yes—prep components (slice meats, cube cheeses, wash fruit) a day ahead. Assemble cups up to 4 hours before serving and refrigerate. Wait to add nuts right before serving if you want them extra crunchy.
Q: Are there nut-free options?
A: Absolutely. Use seeds, crispy chickpeas, or toasted breadcrumbs for crunch instead of nuts.
Q: How many cups per guest should I plan?
A: For cocktail parties, plan 2–3 cups per guest as part of a spread. If these are the main appetizer, budget 3–4 per guest.
Q: Can I make these gluten-free?
A: Yes. Most components are naturally gluten-free—just avoid crackers or toast points with gluten and check labels on cured meats and condiments.
Conclusion
Charcuterie cups are a fast, stylish solution when you want individual portions without the fuss of a shared board. For more inspiration on make-ahead ideas and visual presentation tips, see this guide on Easy Charcuterie Cups: Perfect Make-Ahead Appetizers for Parties. If you’d like additional step-by-step photos and variations, this post on Easy Charcuterie Cups for Your Next Party – Charmed by Camille is a helpful reference.

Charcuterie Cups
Ingredients
Method
- Gather all ingredients and a clean workspace. Line a tray with parchment for easy transfer.
- Slice meats into thin, bite-sized pieces. Fold prosciutto or roll salami to fit cups attractively.
- Cut cheeses into uniform cubes or small wedges so every bite includes cheese.
- Wash and thoroughly dry fruit; halve grapes and berries if large to prevent overcrowding.
- Chop or roughly break nuts so they sit nicely on top and add crunch.
- Place a small folded slice of meat into the bottom of each cup to create a flavorful base.
- Add a cheese cube or wedge next. Push it gently so ingredients don’t topple.
- Tuck in a piece of fruit next to the cheese for color and contrast.
- Sprinkle a few nuts on top for texture and visual finish.
- If your cups are tall, repeat layers once more and finish with a decorative toothpick or herb sprig.
- Serve immediately, or cover and refrigerate for up to 4 hours before serving for best texture.