Mini Cheesecakes
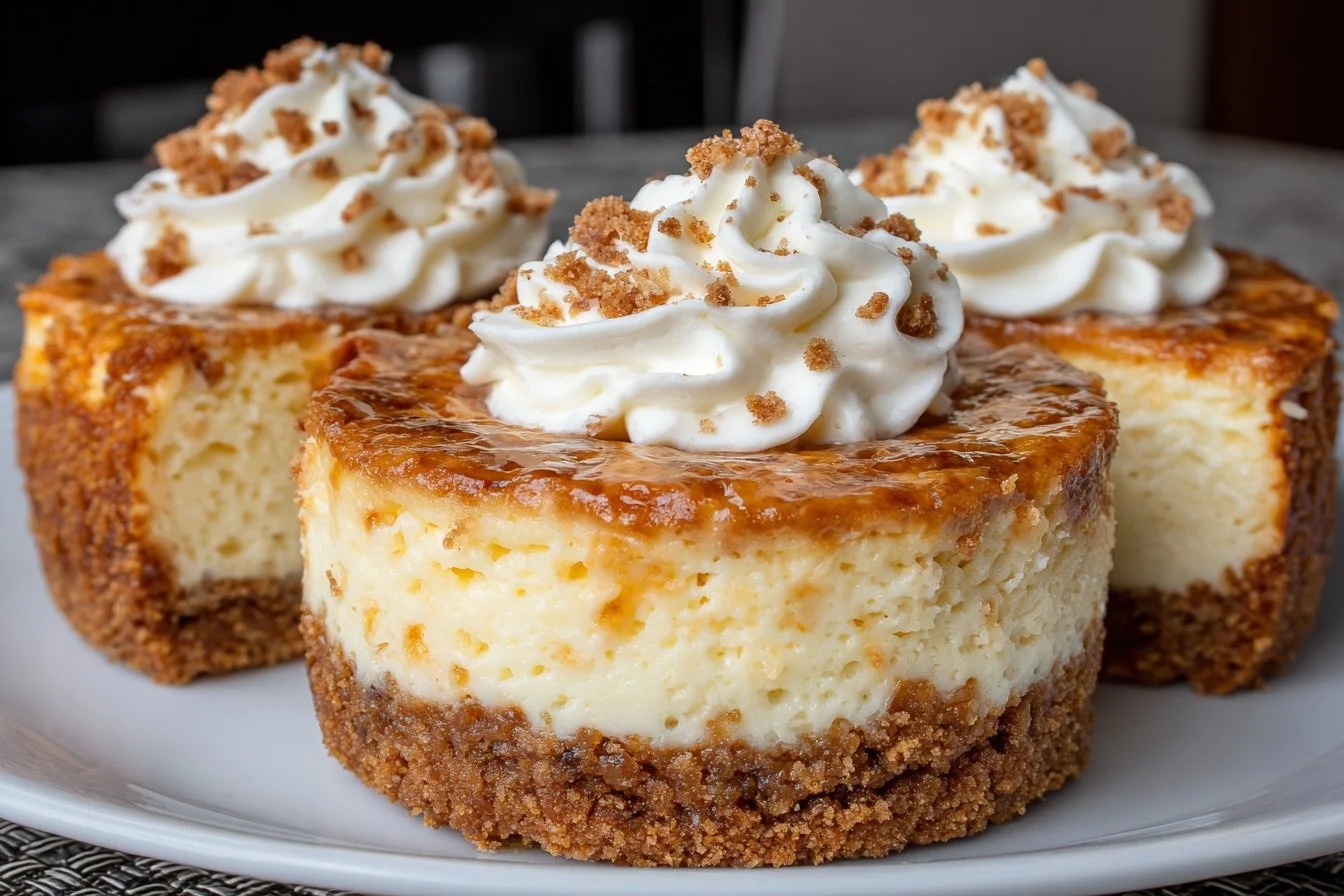
I still remember the first time I made these mini cheesecakes — they vanished faster than I could photograph them. Tiny, rich, and perfectly portioned, they’re a go-to for potlucks, weeknight desserts, or when you want something elegant without fuss. This recipe turns pantry staples into creamy little cheesecakes with a crisp graham crust and a silky filling — ideal for busy bakers or anyone who loves classic flavors.
Why you’ll love this dish
These mini cheesecakes are one of those recipes that look special but are surprisingly simple to make. They’re fast to bake, easy to portion for crowds, and forgiving for bakers who don’t want to fuss with a water bath or complicated technique. Make them for birthday parties, holiday dessert spreads, or a sweet finish to a casual dinner.
“Perfectly creamy, just the right crust-to-filling ratio, and everyone asked for seconds — the little cups are addictive.” — a longtime favorite in my dessert rotation
How this recipe comes together
Before you jump in, here’s a quick overview so you know what to expect: press a buttery graham crust into lined muffin cups, whip a smooth cream cheese filling without overbeating, fill the cups, and bake until just set. Chill for a couple of hours to firm up, then top with fruit or chocolate. Total active time is short; most of the waiting is hands-off chilling.
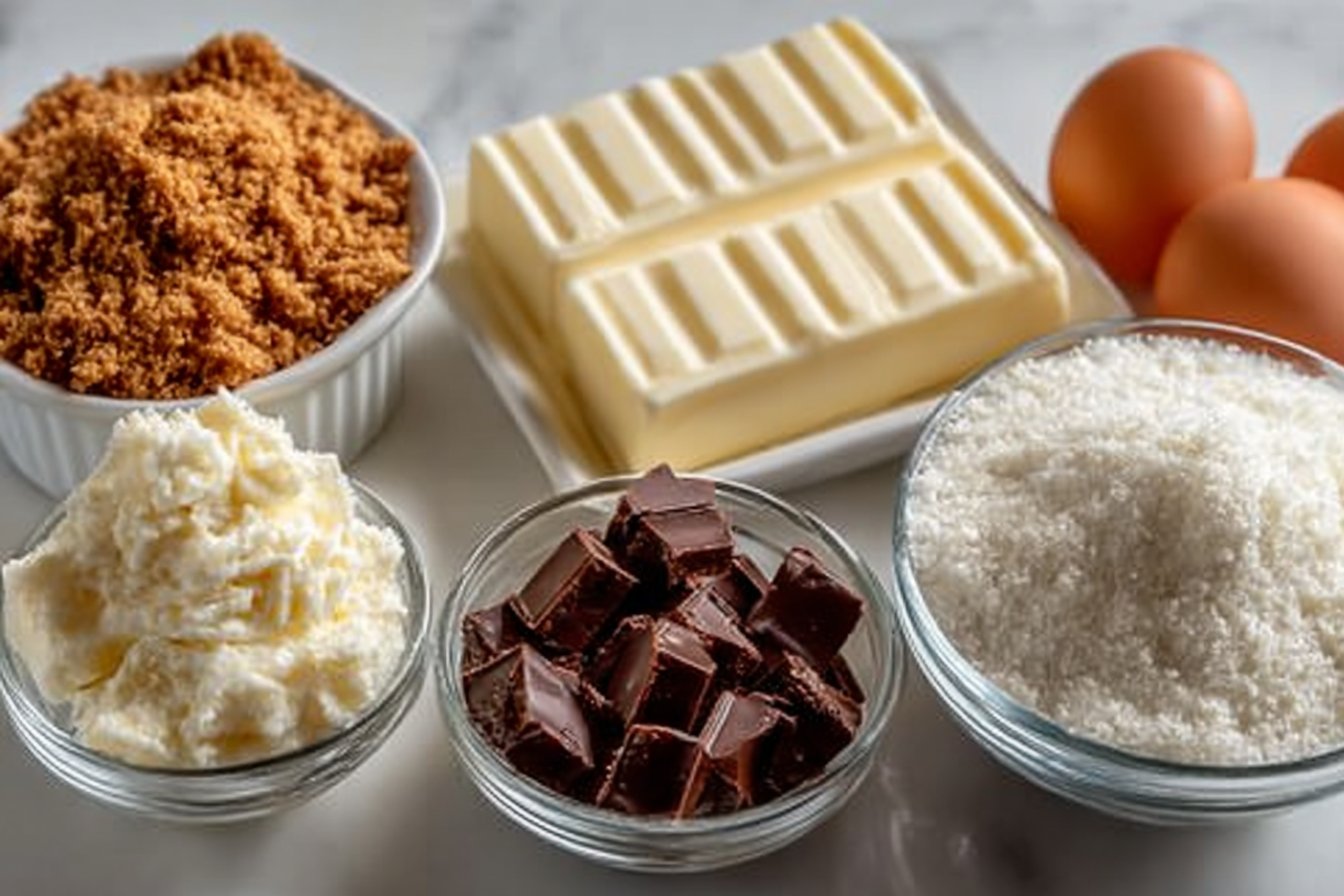
Ingredients — Gather these items
- 1 1/2 cups graham cracker crumbs
- 1/4 cup sugar (for crust)
- 1/2 cup unsalted butter, melted
- 16 ounces cream cheese, softened
- 1 cup sugar (for filling)
- 1 teaspoon vanilla extract
- 2 large eggs
- Fruit or chocolate for topping (optional)
Notes and substitutions:
- Graham cracker crumbs: use digestive biscuit crumbs or Oreo crumbs (sans filling) for a different flavor.
- Unsalted butter: swap for salted butter but reduce any added salt elsewhere.
- Cream cheese: full-fat gives the best texture; light versions can make the filling less creamy.
- Egg substitute: for egg-free options, see the Variations section below.
Directions to follow
- Preheat the oven to 325°F (160°C). Line a 12-cup muffin tin with cupcake liners.
- In a medium bowl, stir together 1 1/2 cups graham cracker crumbs, 1/4 cup sugar, and the melted butter until evenly moistened.
- Press about 1 tablespoon of the crust mixture into the bottom of each lined muffin cup. Use the back of a spoon or a small measuring cup to compact it.
- In a separate large bowl, beat the softened cream cheese until smooth and lump-free. Scrape the sides as needed.
- Add 1 cup sugar and 1 teaspoon vanilla extract to the cream cheese and mix until combined.
- Add the eggs one at a time, mixing just until incorporated after each addition. Do not overbeat.
- Spoon or pipe the cream cheese filling over the prepared crusts, filling each cup nearly to the top.
- Bake in the preheated oven for about 20 minutes, until the centers are set but still slightly jiggly.
- Remove from the oven and let cool to room temperature, then refrigerate for at least 2 hours to fully set.
- Remove the liners, top with sliced fruit or melted chocolate if desired, and serve chilled.
Best ways to enjoy it
These mini cheesecakes are versatile on presentation and pairing. Try a few serving ideas:
- Top with fresh berries and a dusting of powdered sugar for a bright, classic finish.
- Drizzle warm salted caramel or melted dark chocolate for a richer treat.
- Serve with a dollop of whipped cream and a mint leaf for a restaurant-style plate.
- Pair with coffee, a dessert wine, or a citrusy tea to balance the richness.
If you want bite-sized party fare, place them on a tiered platter for an attractive dessert table. For gifting, arrange a few in a small box with parchment.
How to store & freeze
Short-term storage:
- Refrigerate cheesecakes in an airtight container for up to 5 days. Place parchment between layers to prevent sticking.
- Keep them chilled until serving; the texture is best cold.
Freezing:
- To freeze, place the cheesecakes on a baking sheet and freeze until solid (about 1–2 hours). Transfer to a freezer-safe container or bag and freeze for up to 2 months. Thaw overnight in the refrigerator before serving.
Food safety:
- Because these contain eggs and dairy, keep them refrigerated when not serving and discard after 5 days. If left out at room temperature longer than 2 hours, it’s safest to throw them away.
Pro chef tips
- Bring the cream cheese to room temperature for smoother mixing. Cold cream cheese causes lumps and leads to overmixing.
- Avoid overbeating after adding the eggs — too much air causes cracking and a cheesecake that deflates. Mix just until combined.
- Use a light hand when pressing the crust; compacting firmly helps hold the crust together but don’t make it rock-hard.
- Rotate the muffin tin halfway through baking if your oven has hot spots for even browning.
- To speed chilling, place the cheesecakes uncovered in the fridge for the first hour, then cover to avoid condensation.
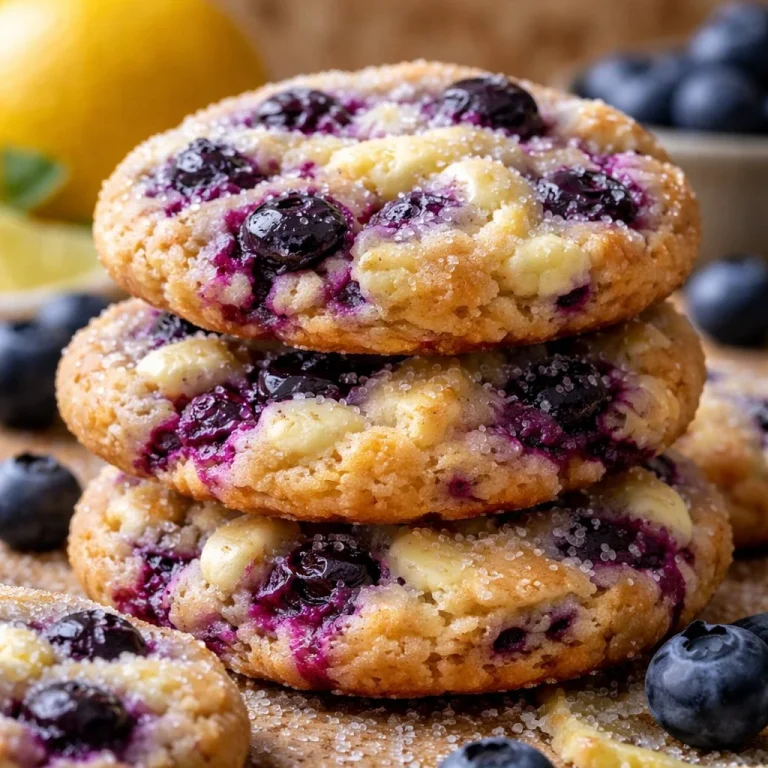
- For a fun variation and to pair with other treats, try serving alongside bite-sized cookies like these mini butter cookies: Mini Butter Cookies.
Creative twists
- Lemon or lime zest: add 1–2 teaspoons of citrus zest to the filling for a bright flavor.
- Chocolate cheesecake: fold 2–3 tablespoons of cocoa powder into the filling or swirl melted chocolate on top.
- Fruit compote: top with a quick stovetop compote of berries and a touch of sugar for a syrupy finish.
- Gluten-free: use gluten-free graham crumbs or almond flour crust.
- Vegan: replace cream cheese with a cashew-based cream cheese and use flax “eggs” (1 tablespoon ground flaxseed + 3 tablespoons water per egg) — results will be a bit different in texture but still delicious.
For more small-batch baked ideas that pair well with this platter, check out this mini donut recipe: Baked Cinnamon Sugar Mini Donuts.

Your questions answered
Q: How long do these mini cheesecakes take to make from start to finish?
A: Active prep is about 20–30 minutes. Bake time is 20 minutes, plus at least 2 hours of chilling. Plan for roughly 3 hours total, most of which is hands-off chilling.
Q: Can I make them ahead for a party?
A: Yes — they keep well refrigerated for up to 5 days and can be frozen for up to 2 months. Assemble and chill the day before for best convenience.
Q: Why did my cheesecakes crack or sink?
A: Cracks usually come from overmixing or baking at too high a temperature. Mix lightly once eggs are added. Bake at the suggested temperature and remove when centers are set but slightly jiggly; they’ll firm as they chill.
Q: Can I use low-fat cream cheese?
A: You can, but expect a slightly less creamy texture. Full-fat cream cheese gives the best mouthfeel and flavor.
Conclusion
These mini cheesecakes are a dependable, crowd-pleasing dessert that balance simplicity and elegance — great for weeknight treats, celebrations, or make-ahead party platters. If you’d like a slightly different technique or more troubleshooting tips, check this detailed version from Mini Cheesecakes (in a Standard Muffin Pan) – Sally’s Baking and another take with topping ideas at Mini Cheesecakes – Live Well Bake Often.
Mini Cheesecakes
Ingredients
Method
- Preheat the oven to 325°F (160°C). Line a 12-cup muffin tin with cupcake liners.
- In a medium bowl, stir together graham cracker crumbs, sugar, and melted butter until evenly moistened.
- Press about 1 tablespoon of the crust mixture into the bottom of each lined muffin cup.
- In a separate large bowl, beat the softened cream cheese until smooth and lump-free.
- Add sugar and vanilla extract to the cream cheese and mix until combined.
- Add the eggs one at a time, mixing just until incorporated after each addition. Do not overbeat.
- Spoon or pipe the cream cheese filling over the prepared crusts, filling each cup nearly to the top.
- Bake in the preheated oven for about 20 minutes, until the centers are set but still slightly jiggly.
- Remove from the oven and let cool to room temperature, then refrigerate for at least 2 hours to fully set.
- Remove the liners, top with sliced fruit or melted chocolate if desired, and serve chilled.